Showing posts with label Flowers. Show all posts

Saturday, 16 May 2020

3D Roses with Rinea

Good morning crafty friends!


I hope you are all doing fantastic today. I am very excited to share a new creation with you today featuring  Rinea products - GIANT Paper Roses. That's right!  The largest rose in this photo is approx 1 foot across in size!!  I am working on a large backdrop display, and this is just the beginning!

I did create a YouTube Tutorial to show you how to make them - first up, the supply list!

Supply List:

Hot Glue Gun

Cricut Design Space File #M11894618 from
Llama Be Your Valentine

Check out the tutorial below:


Remember, you can save 10% on your Rinea order when you shop HERE. Thanks so much for stopping by today. I hope you are inspired to use your Rinea Foiled Paper to create beautiful flowers!

See you again soon!

xoxo
Jess


Monday, 1 July 2019

Foiled Paper Peony Tutorial with Rinea

Hello friends!


I'm so excited to share my July Video Tutorial for Rinea - a beautiful bouquet of handmade peonies!  I just adore peonies - they smell amazing and the blooms are just incredible. I was inspired to make them after a quick walk around my garden and picking some for my bedside table.

You will need the following supplies to create these beautiful blooms:

**Rinea Foiled Paper - Princess Variety Pack

**Rinea Foiled Paper - Starstruck Emerald


**Flower Cutting Dies (I used a Sizzx XL Flower Die) - or you can hand cut your shapes

**Hot Glue Gun

**Small Styrofoam Ball

**Green pipe cleaners

**Assorted Floral Greens

I hope you enjoy my YouTube Tutorial! :)


Here are a few more photos to inspire:


Thanks for stopping by!!

Jess


Monday, 1 April 2019

Pretty Hyacinth Blooms with Rinea

Hello friends!  

It's a busy day on my blog today - this post is my first project of the month for Rinea!


Aren't these flowers GORGEOUS?  You will love making them too using the handy 3D Hyacinth Die Set.  It is really easy to do - the instructions are right on the package! Simply cut, roll and glue!!

For these flowers, I used the following colors of Rinea Foiled Paper:


As you can see, you can make different versions of the flowers - from tight blooms to more looser ones!  I added a few handcut leaves to finish off my flowers, then tucked them into a terra cotta pot filled with river stones. So cute!  They are perfect to tuck on a shelf or even on your kitchen table!


Thanks for popping by AGAIN today :) 

Jess

Friday, 22 March 2019

Rinea Easter/Baby Shower Topiaries

Hello crafty friends!

I have some cool new projects to share with you for Rinea today! :)  I wanted to make some sort of Topiary and create two different versions. SO - I created one with larger flowers to be used as a Baby Shower decoration (like a centerpiece) and one as an Easter Decoration (which you will see at the end of the post!).  Want to know how I made it? Read on!
The first Topiary starts with a styrofoam easter egg shape. I used a flower punch to cut the shapes from Silver/Gold Glossy Foiled Paper  and Lavender/Gold Glossy Foiled Paper.  I totally forgot to count how many flowers I used - but it would depend on the size of the flower you are cutting and your styrofoam base.

Once I had all my pretty flowers cut out, I started pinning them into the egg using plastic head pins (you could hot glue if you didn't want a pin showing). I fluffed each petal out as I went.  Once it was completely covered, I inserted a paper straw into the bottom of the egg to hold it up.  
  

I took a small terra cotta pot and added a strip of the Lavender Glossy Paper around the top to decorate. Inside the pot in added a few river stones for weight and topped with some faux moss, then inserted my egg.  Finally, one more flower was added to the front of the pot and a pretty cabochon was added to the center.
   

You could totally change the colors to blues for a boy shower or neutrals for a surprise shower! They would make adorable centerpieces. I used the new Florals Pack to make this one:


For this pot, instead of the moss, I used shreds of Rinea Foiled Paper! :) More "Easter" I felt. I also used dressmaker's pins on this topiary - you can't really see them as much. A totally different option for you!
I hope you enjoyed my quick tutorial!  See you again really soon!
Jess

Friday, 14 December 2018

Violets for You Surprise Card

Hi crafty friends!  Happy Friday!


It's December reveal time at SparkleNSprinkle and today's card features the beautiful new stamp set, Violets for You! Now what do you think the surprise can be?

First, I'll share with you the SNS Supplies I used to create this beautiful handmade card:

Have you been in suspense long enough? Here's the inside....it's a pop up card!

\
I broke down the creation of this card into 3 basic steps. 

Step 1 - Stamp & Color

Stamp the images using Versafine ink, then color using a mix of Nuvo Aqua Flow Pens & Nuvo Marker Pens.  You can make the all shiny and pretty using Shamrock Glitter (on the leaves) and Hyacinth glitter on the blooms. Once you are done with glitter, fussy cut out all your images.  
  

Step 2 - Fold & Score the Base

Take a piece of light brown cardstock, approx 6'x11' and score it at 5.5". Then score on either side of center at 4.5", 5", 6" and 6.5", creating an accordion center. 
  

Step 3 - Assemble and Embellish

On the inside of the card, use Tear-ific Tape to adhere you Violet pots wherever you want them to stand. Stamp your seniment with Versamark and emboss with Venus Violet embossing powder.
For the front, add simple layers using cardstock, the Craft Perfect Hail Storm Paper and the Kaisercraft Memory Land Paper Pack. Finally, embellish with the Violet Galaxy Crystal Drops.

Who would you cheer up with this beautiful card?  Thanks for stopping by today. I hope this card brought some inspiration and happiness into your day!
See you again soon!

Jess

Thursday, 19 July 2018

Creative Knockouts Challenge #255

Hello crafty friends!

It's time for a new challenge over at Creative Knockouts Challenge #255!  Our theme this week is  "Use a Tag" and our sponsor is the amazing A Day for Daisies.  I chose to work with a stamp set called "Dandelions in a Mason Jar".


Dandelions In A Mason Jar


Here is what I created:


I watercolored the image using Nuvo Aqua Flow pens. The tag & twine came from a package of Prima Flowers I had sitting on my desk

I hope to see you at the challenge! :)

Until next time,


 photo MHKDesigns_FreshByJess_Signature.png

Wednesday, 6 June 2018

Wedding Fun with Circles and Vintage Papers

Hello friends!


Welcome to Scrapy Land {Challenge #91}!  I'm very excited to share a brand new project with you. I've used these two dies before, but I just love them so much, I wanted to use them again!

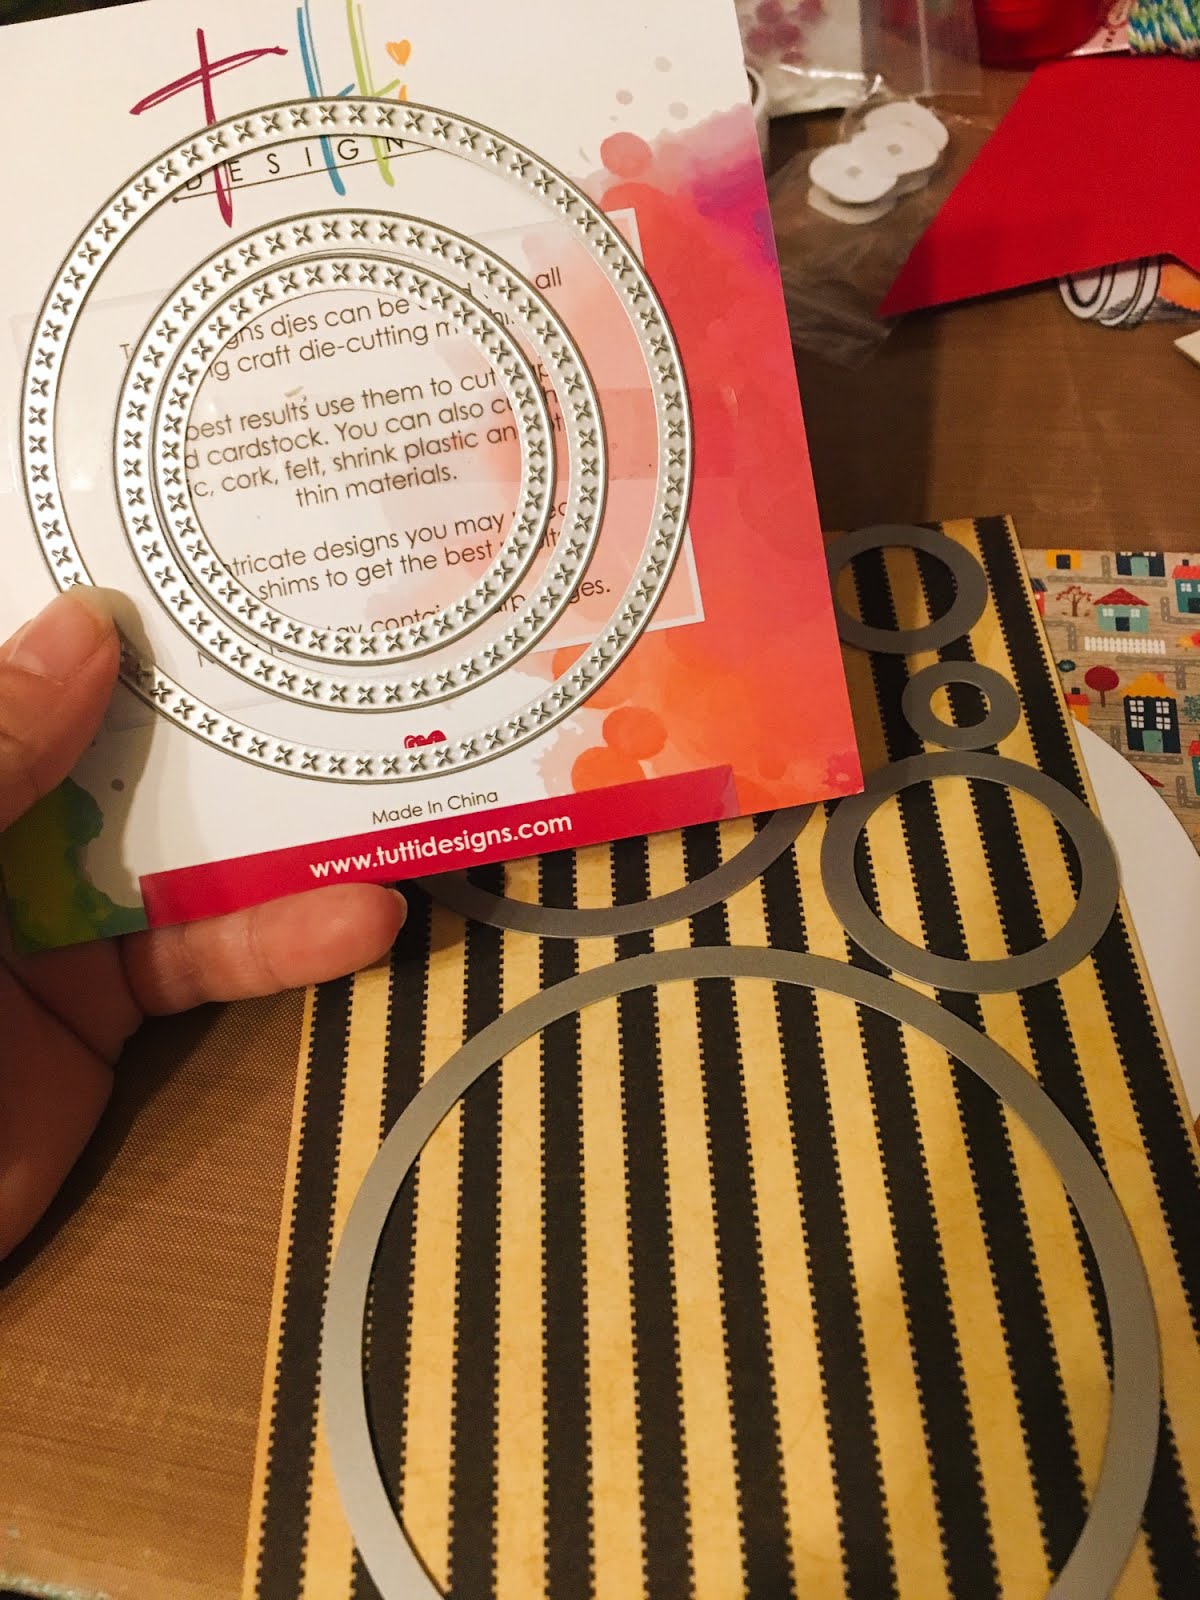
Tutti Designs - Cross Stitch Nesting Circles

Mr & Mrs by Frantic Stamper - not currently available
(but you can use this one by Elizabeth Crafts or this one by Sue Wilson Designs)

Elizabeth Craft Designs - Dies - Mr. & Mrs. Sue Wilson Designs - Shadow Boxes -  Mr. & Mrs.


I used Graphic 45 Paper and Prima Flowers to accent the card.


I sprayed the flowers with some Nuvo Mica Mist for fun :)


I accented with a gold bow paper clip and some gold & ivory gems.

The theme is always ANYTHING GOES using any brand of die that Scrapy Land sells.  In addition, we have TWO WINNERS for each challenge.  One will be a random winner and the other is chosen by the Design Team.  Each winner will receive a generous $10 gift certificate to Scrapy Land. Who doesn't want to win that?  Did you know Scrapy Land carries over 55 brands of dies, so chances are you have a few of the brands in your stash!  You can see all the brands carried under the Products category.

We ask that you please link back to this Scrapy Land Challenge and include the link to this challenge on your blog post.  It would also be extremely helpful if you would list the brands of dies used in your project.  (Sometimes we can't tell if an item is a die cut or chipboard.)

We can't wait to see what you create! Don't worry about your style - anything goes!  Just make sure you use a die that Scrapy Land sells and you are good to go!

Good luck!

See you next time!

Jess

Monday, 26 February 2018

Atlantic Hearts Sketch Challenge #253

Hello friends!


It's time for another great sketch from Atlantic Hearts Sketch Challenge! Here it is:


Here is what I created:


I hope you will come and play along with us!

See you next time!

Jess

Friday, 19 May 2017

SparkleNSprinkle - Happy Flowers #2

Hello friends!


I'm back again with another pretty card for SparkleNSprinkle featuring the "Happy Flowers" Stamp Set.  

Supply List:

To start making this card, I applied a piece of 2.5" Tear-ific Tape across a piece of cardstock, removed the protective backing and applied Cloud Nine Microfine Glitter to the exposed adhesive. I burnished it well with my finger tool! :)


Next, I had a little fun!  I grabbed my Stazon Ink and stamped the sentiment randomly across the glitter!  How fun is that? It created a fun background and my sentiment in one step! Next, I applied 4 rows of 1/8" Tear-ific Tape (2 on the top and 2 across the bottom) and applied Berry Bliss Embossing Powder.  I heated it and created my border.   For the background piece, I simply ran a piece of green cardstock through my Big Shot with an embossing folder. Then I applied Spring Green Embellishment Mousse AND Indian Gold Embellishment Mousse to add dimension and shine.


I stamped the flowers onto white cardstock with Versafine Black Ink and watercolored (my new fave technique it appears - haha!). Once the flowers were dry, I added a touch of Diamond Dust Glitter, adhering with my Medium Glue Pen AND I also added some Indian Gold Embellishment Mousse randomly on the leaves.
The flowers were added to the card using 1/2" Tear-ific Tape and all the layers were also adhered with 1/2" Tear-ific Tape.  I finished off the card with accents of the Bright Gold Crystal Drops.


I hope you enjoy this card!  I'm looking forward to sharing a SUPER cute mermaid card with you next week!
Until next time,
 photo MHKDesigns_FreshByJess_Signature.png

Friday, 23 December 2016

SparkleNSprinkle - Rustic Flowers - Snapdragons


Hello friends!


I'm up on the SparkleNSprinkle Blog today with a pretty new floral card, featuring the Rustic Flowers - Snapdragons stamp set!


Supply List:
This was such an easy card to put together!  To start, print out the gorgeous pre-colored image onto white cardstock.  Using the Nuvo Small Glue Pen, add your Glitters to the different flowers. I used Dogwood Rose, Ballerina, Tiger Orange and Daisy Glitters on my flowers.  Soooo pretty!

I really wanted to emphasize the copper of the gorgeous can holding the flowers. So, I grabbed my Copper Embossing Powder and added some detail using the Nuvo Small Pen - heat setting of course!  The results were just gorgeous!


Fussy cut out the entire image, then set aside while you go to work on the background.

To make the background, I took a piece of light green cardstock and ran it through my Big Shot with an embossing folder. I just loved the look of the Clematis Vine Tonic Die, so I die cut one out using a darker green cardstock.  I attached the embossed panel to the cardbase with 1/2" Tear-ific Tape, then used the Small Glue Pen once again to adhere my die cut piece of cardstock.  

Foam Squares were used to pop up the focal image to give more dimension. I printed off the sentiment onto white cardstock and used the glue pen one more time to add a pop of Copper Embossing Powder to the word "Cheer".  A bit of ribbon was added and I used the Foam Squares again to adhere the sentiment.

See that nifty brush? It's a set that's now available in the SNS Shop that helps to pop out all the little pieces from intricate die cuts! I LOVE IT! It's called the Sizzix Die Brush & Foam Set!


Finally, I had tons of fun with the NEW Jewel Drops in Key Lime!  I added a bunch of "dots" all over the background, then set aside to dry.  I LOVE the finished look!  Soooo sparkly!  They go on opaque and dry more clear. You HAVE to try them out sometime soon!


Thanks for popping by - and I just want to wish everyone a very Happy Holidays & Merry Christmas (since this is my last post before Christmas!)

Cheers!

Jess