Wednesday 22 May 2019

Creative Knockouts Challenge #299

Hello crafty friends!

It's time for a new challenge over at Creative Knockouts Challenge #299!  Our theme this week is "Fancy Flourishes" and our sponsor is the beautiful Fabrika Fantasy.  I chose to work with a stamp set called "Beautiful Seahorse". 


Isn't it GORGEOUS? I love how they offer pre-colored digis!

Here is the handmade card I created:


I hope to see you at the challenge! :)

Until next time,

Jess

Monday 20 May 2019

Joy Clair - "Teacher" New Release

Hello friends!

It's NEW RELEASE time at Joy Clair stamps, and I can't wait to share with you a beautiful new stamp called "Teacher". It's PERFECT for those end of year teacher gifts!  Of course we are still partnering with Bazzill Basics Paper for these creations.

For this first card, I used the Dotted Swiss Cardstock for my background and my base was a neutral white. Some organza ribbon and twine were used to embellish along with some candy dots.


For this second card, I also used the Dotted Swiss Cardstock, along with multiple shades of the solid core cardstock.  On the light purple, I used an embossing folder to add some flowers for texture.  I also added a piece of the foiled hearts cardstock along the middle for a little dimension.

I stamped the apple onto a piece of the dotted swiss cardstock and fussy cut out. The sentiment was stamped using a black ink and I just added a bit of watercoloring.  I kept the embellishments simple on this one - just a few Nuvo Vintage Drops.


I hope you love these cards and pick up this adorable stamp set to use to make your own teacher cards. Don't forget your Bazzill cardstock!! :)

Until next time,

Jess

Wednesday 15 May 2019

Retro Fun with Rinea

Hello crafty friends!


I have 2 handmade cards to share with you today for Rinea!  

For this first card, I started by pulling the Glossy Copper/Gold Foiled Paper from the Metallics Foiled Paper Pack.  The background and chevrons (hand cut by me!) were both made with this color. 
I stamped the car image onto a piece of Glossy Mocha/Gold Foiled Paper using Ghost Ink, then used alcohol and a towel to gently remove the color, leaving the silver underneath!  I love the Ghost Ink Technique! If you would like more information on the Ghost Ink technique, you can check it out HERE.
The sentiment was stamped with Staz-On Ink onto the Glossy Silver/Gold Foiled Paper and matted with Turquoise Starstruck. So pretty!!  To finish, I added a few Gold Glitter Drops for dimension.

Here is a second card I created using the same Ghost Ink technique:

The only part I did differently with this card was I stamped the image with Versamark Ink onto a piece of patterned paper and fussy cut out before adhering to the card. You can see the stars that I stamped with Ghost Ink peeking out in the background!
Thanks for stopping by!  I hope you are inspired to be creative today!
Jess

Tuesday 14 May 2019

May Joy Clair Blog Hop - Color By Faith

Hello friends!


I'm so excited to be part of the Joy Clair - Color By Faith May Blog Hop!

For this card, I'm featuring the Coffee & Jesus stamp set again - and I really made sure that all the stamps were used!  That's right - I created my background from Bazzill paper and a stamped sentiment background!  You should have arrived here from Lindsay Adreon's Blog.


Your next stop on the hop is Karen's Blog!

If you get lost along the way, here is the full hop list:

Jessica Kaiser  - YOU ARE HERE! :)
Donna

Thanks for stopping by! Please feel free to leave a comment - you could win some fabulous prizes (and I love reading them!)

See you again soon!
Jess


Monday 13 May 2019

Joy Clair Blog Hop - Everyday Occasions

Hello crafty friends!


Joy Clair New Release month continues!!! 

Welcome to our blog hop!  You should have made it here from  Karen's blog.  

 I'm always looking for masculine stamps...and this Tools Background stamp PERFECTLY fits the bill!  I just love it!  I love background stamps too - one sold stamp and it creates a great background.


I used a basic Bazzill purple cardstock background for this card.  The tools were heat embossed.

Your next stop along the way is Ceal and you can find her blog HERE.

Don't forget to leave comments along the way!  We love to read then and you could win some awesome prizes too!

Thanks for stopping by!

Here is the full hop list:

Jessica Kaiser - you are here!

See you tomorrow for part 2 of our hop.

Jess

Friday 10 May 2019

Joy Clair - Coffee Lovers & Bazzill

Hello friends!

I have a fun card to share with you today for Joy Clair Stamps! We are cross promoting this month with the amazing Bazzill Paper - I really love their cardstocks! 

For this card, I'm using the Coffee Talk stamp set.   I really love the fun ways to dress up the coffee - latte foam, wordplay and more!  

I embossed the coffee cup image using SNS Nautical Embossing Powder and Versamark Ink. 

The cardstock I used was a really beautiful indigo cardstock with a gold foil swirl. The base was offwhite cardstock. You will love the crisp solid core of these cardstocks - they are truly wonderful to work with.  A strip of heart embossed white cardstock was added across the center panel to give a little accent. 

My embellishment choices were simple - Nuvo Gold Glitter Drops and some gold organza ribbon.


I decided to make a second card as I love this set so much! I stamped the cup image and watercolored using Nuvo Aqua Flow pens. I did a double stamp of the "coffee" insert - first with the solid coffee and then secondly with the latte foam stamp. I loved how subtle the image came out!

I used the Bazzill Heart Foiled Kraft cardstock and an aqua base. I dry embossed a strip of the aqua cardstock with a woodgrain embossing folder and accented with some brown twine.


I hope you enjoy these fun cards - I really enjoy making anything with a coffee theme!  You will especially love this stamp set as it's a larger size - 6x8"!!!  So head over and grab it :)

See you again soon!


Jess

Thursday 9 May 2019

Creative Knockouts Challenge #297

Hello friends!


It's time for another fun new challenge over at Creative Knockouts!  

We are sponsored by Just Me Digital Stamps (SUPER cute stuff!) and our theme is Funny Cards!

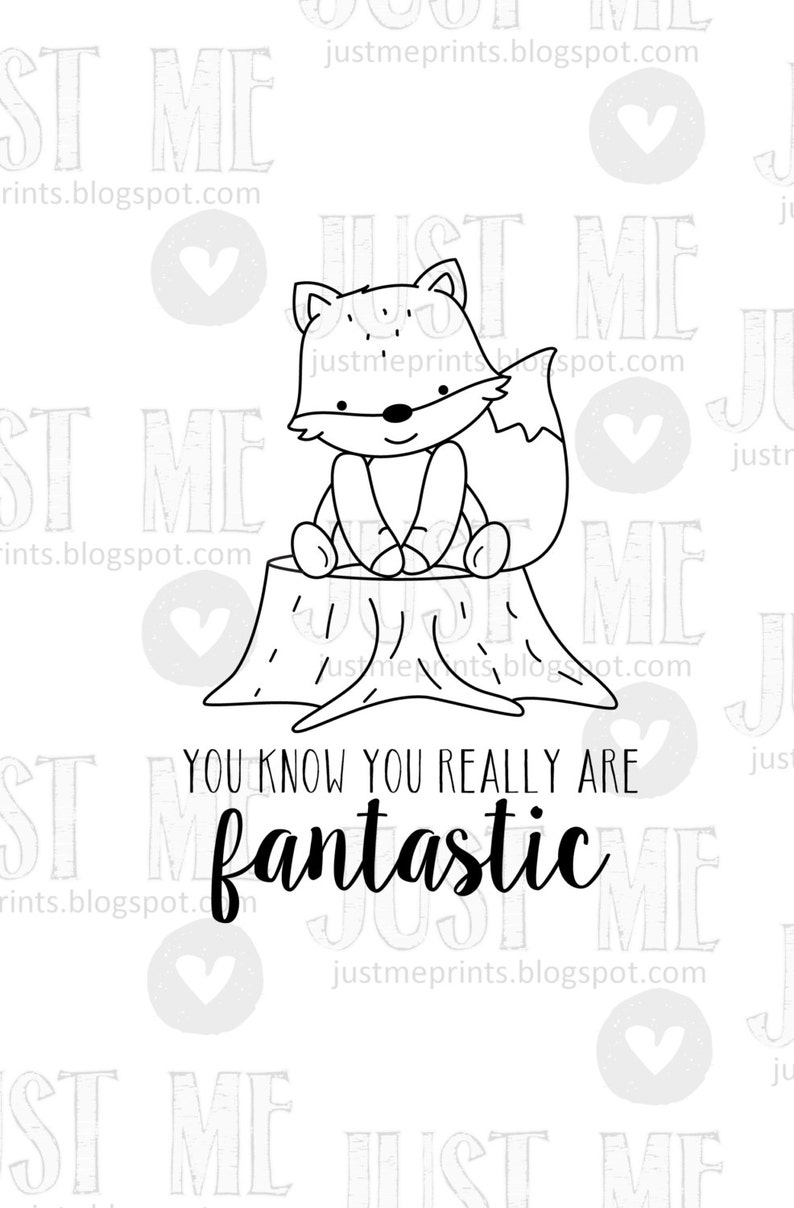
I chose to work with the Fantastic Mr. Fox Digi and decided to keep my card super clean and simple.

image 0

Here is what I created:


I printed out the digi as is and watercolored the image. I added a silver glitter paper background and some Gold Glitter Drops for accent.  Super cute!  I know it's not haha funny.....but it's bound to make you smile! 

I hope you will join us for the challenge!

See you next time.

Jess

Friday 3 May 2019

Spring/Summer Coffee Lovers Blog Hop with Joy Clair

Hello friends and welcome to the COFFEE LOVERS Blog Hop!!


I'm excited to be using the Joy Clair New Release stamp Set called "Coffee and Jesus"! It's such an awesome set - you will definitely want to add this one to your collection!

Image may contain: text

Here is my creation:


We are using Bazzill Cardstock for our creations this month - this one features the Dotted Swiss Cardstock and some embossed heart cardstock!  If you want to save 25% on your coffee themed products on the JOY CLAIR website, use code MAYCOFFEELOVE when you check out!

Coffee themed cards are always fun to make, don't you think? Thanks for stopping by!!

Jess

Wednesday 1 May 2019

Ninabrook May Card Kit - Paper Roses

Hello friends and HAPPY 1st day of MAY! 

I'm here today to showcase card inspiration for the BRAND NEW Paper Roses Card Kit from Ninabrook.com!


I was so excited to design these beautiful cards. Of course you can add more supplies from your stash (ie. stamps, etc) - but I designed them strictly with kit contents. Oh - and you will have supplies left over too!  So I did make more than 5 cards as I couldn't stop creating once I got going! haha

Here are my cards:

- for this one, I cut the letters from the piece of patterned paper!

- followed the same idea for this card :) Aren't those roses GORGEOUS?

- simple banners/flags and letters along with one of the beautiful cabochons


- Look closely!  There is a beautiful rose cabochon on the bottom rose!

- the lace background paper was one of my favorites in the entire pack

- if you know someone named "Rose" , this card would be PERFECT! :)


I hope inspire you to create with the contents of our newest card kit.  Thanks for stopping by! Remember to grab your kit ASAP as they are LIMITED QUANTITIES. I would love to see what you create!  Tag me on Instagram - you will find me @freshbyjess! 

xoxo
Jess

Rinea Roses for You

Hello crafty friends!!!


It's the first of the month (WOW, where has the time gone??) and that means I have a BRAND NEW Rinea creation to share with you!!!  First though, I'm excited to tell you that I'm remaining on the Rinea team for 2019-2020!  How exciting is that? I just love working with their products and can't wait to keep creating. Even more exciting is that in addition to blogging, I will be adding a video tutorial each month too! FUN stuff ahead!!!  Now onto my project.

I have been dying to make 3D Roses with my Rinea Foiled Paper forever....and I FINALLY picked myself up a brand new Cricut machine - so it was finally time!  The colors I chose for this project were Fuchsia/Gold Glossy Solid, Blush/Gold Glossy Solid and  Emerald/Emerald Starstruck Solid.

To make the roses, I used my Cricut machine and a rose svg cut file (sorry, I had it saved on my computer and I can't remember where it came from!!). I uploaded the svg file into Cricut Craft Room and set it up to cut! 


I loaded up a light tack mat with my Rinea Foiled Paper (one of my older mats that was NOT brand new!!!). If it's too tacky, you risk tearing the layers of the foiled paper apart! 

Once my roses were all cut, I used double sided tape to adhere all my layers and did 9 flowers in total. I shaped the petals as I went - that is the most awesome part of using Rinea Foiled Paper - it HOLDS it's shape!  Plus, once you have all the flowers built, you can still arrange and re-arrange the petals until you have it to your liking!\


To create the final project, take your frame (mine was from the dollar store and was an 8.5x11" frame) and remove the glass. I kept the mat background and added a piece of the Emerald/Emerald Starstruck Paper to peek through as my base. I reattached the frame backing and flipped it over, then hot-glued my flowers in place.  A good tip is to arrange the flowers how you want them first before gluing, then lift them up one by one as you glue them down. Then your spacing remains correct.


Fluff your petals to your liking once more and voila! Your beautiful 3D Frame is ready for gift giving!

Thanks for stopping by! I hope you are inspired to make some frames of your own. They make a great Mother's Day Gift or Teacher's Gift!


See you again soon!

Jess

Supplies:
Rinea Foiled Paper - Fuchsia/Gold Glossy, Emerald/Emerald Starstruck, Blush/Gold Glossy
8.5x11" Frame with insert
Hot Glue Gun & Glue Sticks
Cricut Explore 2 & Low Tack Cutting Mat
SVG Cut File for 3D Rose
Double Sided Tape