Friday 28 December 2018

What's Mew?

Hi there!

I have a super sweet handmade card to share with you today for SparkleNSprinkle!  First up, here is my complete SNS Supply List.

Supply List

Let's get crafting!

Step 1 - Stamp & Color Your Focal Images

I stamped the kitty onto a piece of white cardstock and colored with the Nuvo Watercolor Pencils. I wanted to add a little texture to the kitty, so I added some Dark Chocolate Flocking to his tail using the Medium Nuvo Glue Pen.
  

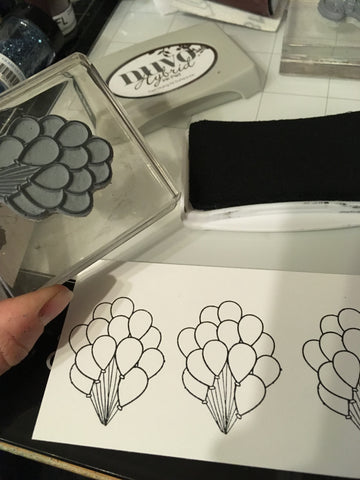
To make my balloons - I actually "doctored up" my rubber stamp by cutting the balloons from the kitty! This way, I can use them together OR separately! I stamped the balloons 3 times, then colored with my Aqua Flow Pens. Once it was all dry, I fussy cut out the kitty and the balloons. 

Step 2 - Create the Background

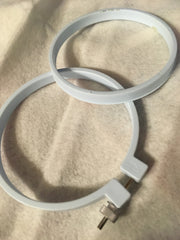
For the background, I die cut some of the Hailstorm Craft Perfect Paper using a layered die set. I wanted some sparkle around it, so I used the next size up to die cut a piece of sticker paper, then sprinkled on the Priceless Peacock Glitter, burnishing well with my finger tool.  I adhered the layers together using 1/4" Tear-ific Tape. 

Step 3 - Assemble & Embellish

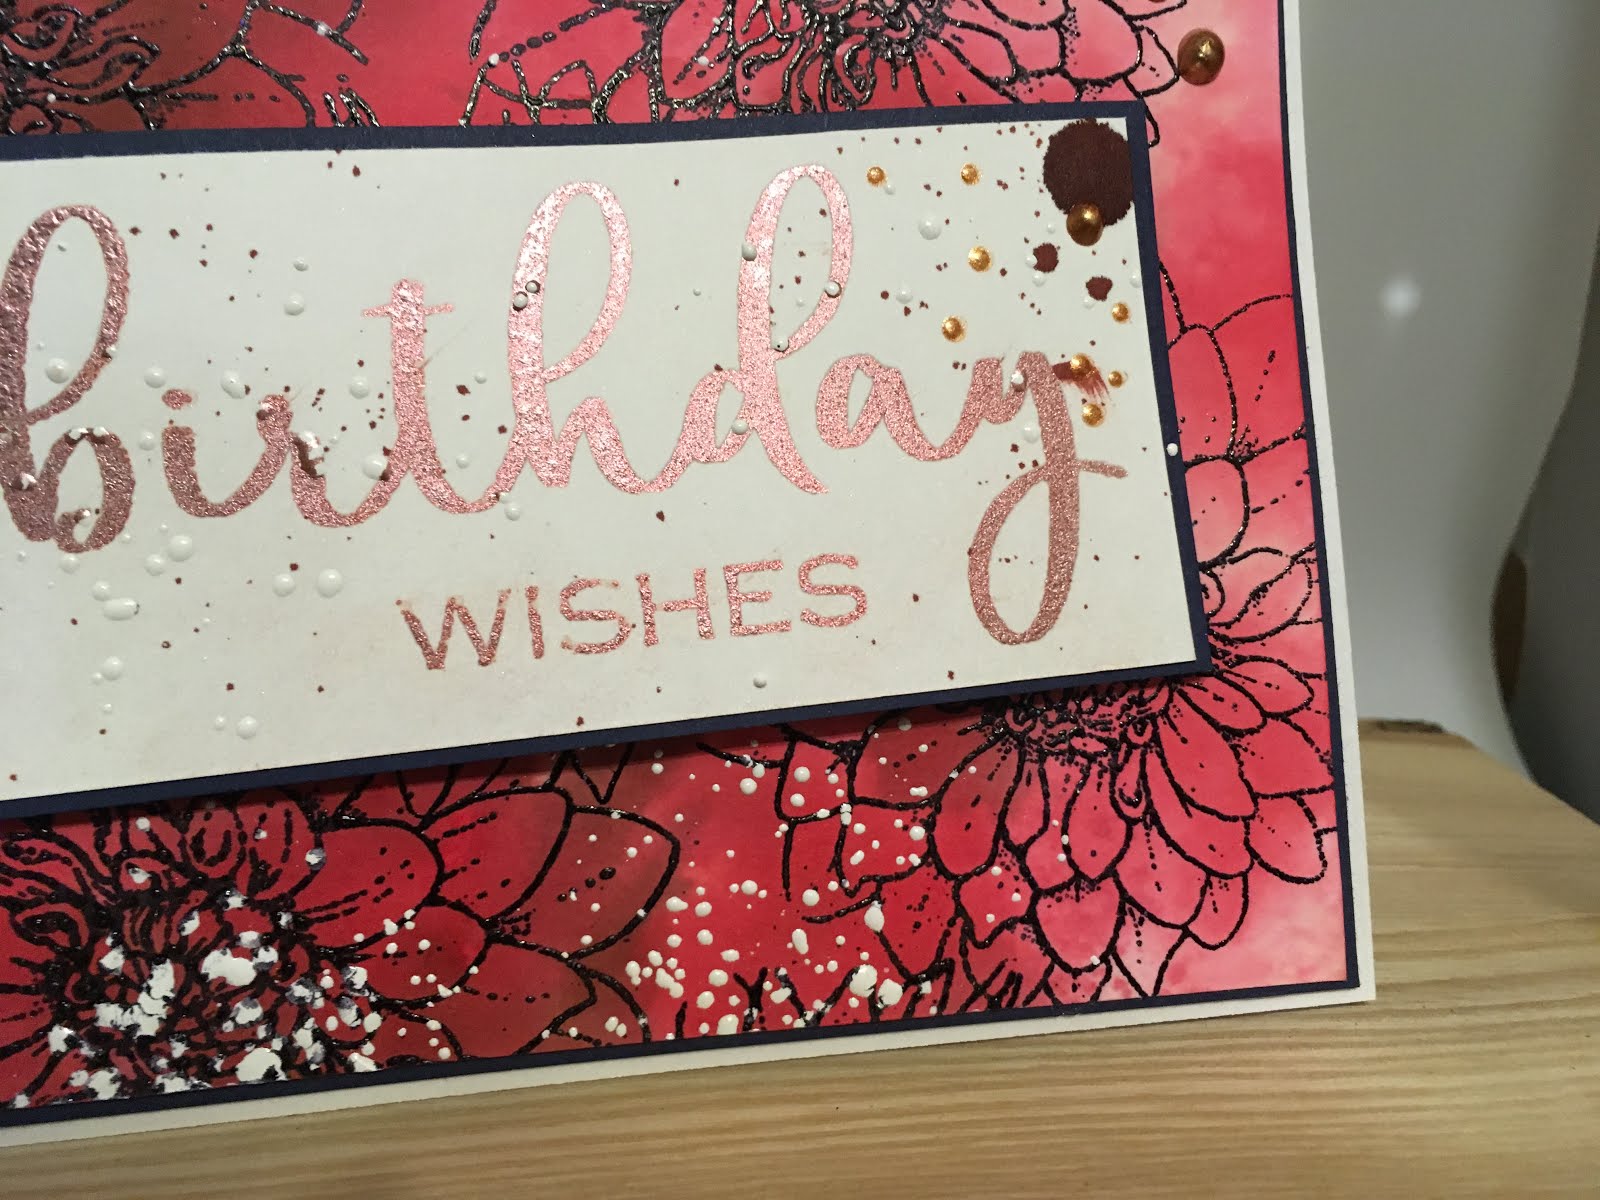
I chose a fun, retro patterned paper for my background, then added my layers. I stamped my sentiment with Versamark ink and embossed with Madagascar Green Embossing Powder, To some of the balloons I added some of the Morning Dew Crystal Drops to make them shiny and add some unexpected texture.

Some of the Caramel Cream Crystal Drops were added to embellish. I tied a bit gold string from the balloons to the kitty! 
I hope you enjoyed this fun kitty card - I can't wait to share with you all the SNS goodness in 2019!
Jess

Thursday 27 December 2018

Love Collage with Cheapo Dies

Hello friends!


Say what?  No more Christmas cards? It's time to bust out the pinks and all things Valentine's!  For my Cheapo Dies creation this week,  I used the Love Collage Die to create this pretty card.

Cheapo Dies - Love Collage

 Here is what I created for you:


 If you're not familiar with Cheapo Dies, you are missing out!!!
Here's a listing of their store, blog & FB links to help you get familiar:


Thanks to all of you for stopping by today.  Can't wait to see you again soon!

Jess

Saturday 22 December 2018

Rinea Poinsettia Hoop

Hello friends!


I have a super cute new Rinea project to share with you today!  I used an old embroidery hoop I had kicking around to create this home decor project!  First up, gather the following supplies:

Embroidery Hoop
Poinsettia Dies (I used Spellbinders)
Big Shot (or your fave Die cutting machine)
Felt
Glue (I used Nuvo Deluxe Adhesive)
Scissors
Mini Scrabble Tiles 

Step 1 - Die cutting!


Cut all your pieces!!  As you can see I cut multiple shades and sizes (including both the Glossy and Starstruck papers). I found I could easily and cleanly cut through 4 sheets of foiled paper at a time.

Step 2 - assemble your hoop base

Add your felt to your embroidery hoop and trim.
  

Step 4 - Assemble your flowers!

Pretty simple - glue each layer using Nuvo Deluxed Adhesive. 

 Step 5 - Assemble!

I glued my assembled flowers onto my embroidery hoop - and then embellished. I had these adorable mini-Scrabble Tile stickers in my stash, so I thought they were the perfect touch!

A simple red ribbon finished off this cute home decor project!


So cute, right? I'm sure you have some old embroidery hoops in your stash too!  I think I will make a few more larger ones with regular Scrabble tiles as gifts!

Merry Christmas!


Jess

Thursday 20 December 2018

Creative Knockouts #277


Hello friends!


This week our theme is "Tis the Season". Our sponsor is Dr. Digi House of Stamps!  I worked with the digi called Last Tree in the Shop - just too cute!

Here is what I created:


I printed off the digi and colored with my Nuvo Marker Pens. A simple sentiment and some adorable little winter themed buttons finished off the card. 

Thanks for stopping by!  I hope you will join in the challenge. 

See you next time!

Jess

Wednesday 19 December 2018

Believe with Cheapo Dies

Hello crafty friends!

Guess what? No BRANCH die today! (insert chuckle!)  Today I'm sharing a Cheapo Dies creation featuring my fave of the season - Scrolly Deer!

Cheapo Dies - Scrolly Deer


Here is the  handmade card I created:


More plaid...more glitter paper....more Scrolly Deer! It's been one of my favorite combos this holiday season. I think I'm almost caught up now on Christmas cards....home stretch!!

Now, if you want to see what else is available for dies, you can check it out here:


Thanks to all of you for stopping by today.  Can't wait to see you again soon!

Jess


Scrapy Land Challenge #104

Hello friends!

Welcome to another amazing Scrapy Land Challenge!  We are now on Challenge #104.  Our theme is always "Anything Goes" as long as you use a brand of die that Scrapy Land sells.

This week I wanted to do a "very white Christmas" themed card. It's really harder than it looks!

I used the following dies:

Cheapo Dies:

I also used a "Hope" die...you could use a similar one from Frantic Stamper found HERE.

My colors ended up being Navy, White Glitter Paper and a bit of gold spray!  Ifelt all the white needed a grounding color, so that's why I chose the navy.  I die cut all the pieces first from the glitter paper (3 of the bare branch, a couple poinsettias for parts and the Scrolly Deer). 

I also added a bit of thin silver wire to the background to resemble a wreath. Crystal Drops in Ivory Seashell gently decorated the overall card. I made a gold spray using Indian Gold Embellishment Mousse in a mini spritzer with water. 


Thanks for stopping by and good luck at the challenge!

Jess


Tuesday 18 December 2018

Atlantic Hearts Sketch Challenge #295

Hello crafty friends!

It's time for another great sketch from Atlantic Hearts Sketch Challenge!

Here it is:


The sketch was created by Michelle Stewart and digitized by Brandi Robinson


Here is what I created:


I used Echo Park paper to create a simple, but festive card!  I've tried to make a mix of cards this season as some of the more highly embellished cards up the postage to mail.


I hope you will come and play along with us!

See you next time!

Jess


 photo MHKDesigns_FreshByJess_Signature.png

Saturday 15 December 2018

Just For Fun - Quick Christmas Card

Hello friends!


Eek!  It's the middle of December already?  Where did the time fly by!!! I hope you have all your Christmas Cards done! :D  If not, here is one more to inspire you.

I have a quick Christmas Card to share with you!


I was just playing with the bits and pieces in my stash, and it was nice just to create something for fun! I hope you are getting your cards all done up!

 photo MHKDesigns_FreshByJess_Signature.png

Friday 14 December 2018

Violets for You Surprise Card

Hi crafty friends!  Happy Friday!


It's December reveal time at SparkleNSprinkle and today's card features the beautiful new stamp set, Violets for You! Now what do you think the surprise can be?

First, I'll share with you the SNS Supplies I used to create this beautiful handmade card:

Have you been in suspense long enough? Here's the inside....it's a pop up card!

\
I broke down the creation of this card into 3 basic steps. 

Step 1 - Stamp & Color

Stamp the images using Versafine ink, then color using a mix of Nuvo Aqua Flow Pens & Nuvo Marker Pens.  You can make the all shiny and pretty using Shamrock Glitter (on the leaves) and Hyacinth glitter on the blooms. Once you are done with glitter, fussy cut out all your images.  
  

Step 2 - Fold & Score the Base

Take a piece of light brown cardstock, approx 6'x11' and score it at 5.5". Then score on either side of center at 4.5", 5", 6" and 6.5", creating an accordion center. 
  

Step 3 - Assemble and Embellish

On the inside of the card, use Tear-ific Tape to adhere you Violet pots wherever you want them to stand. Stamp your seniment with Versamark and emboss with Venus Violet embossing powder.
For the front, add simple layers using cardstock, the Craft Perfect Hail Storm Paper and the Kaisercraft Memory Land Paper Pack. Finally, embellish with the Violet Galaxy Crystal Drops.

Who would you cheer up with this beautiful card?  Thanks for stopping by today. I hope this card brought some inspiration and happiness into your day!
See you again soon!

Jess

Wednesday 12 December 2018

Cheapo Dies Blooming Cherry Blossom

Hello crafty friends!

Today I am working with the "Blooming Cherry Blossom Die".  Haven't I been using lots of branch styled dies lately? oops.....hehe

Cheapo Dies - Blooming Cherry Blossom


Here is the  handmade card I created:


I did two cuts to make this card - the first was using a piece of Kaisercraft Patterned paper and second was some pretty glitter paper!  Yes...these dies cut super clean even through thick glitter paper!!!!


Now, if you want to see what else is available for dies, you can check it out here:


Thanks to all of you for stopping by today.  Can't wait to see you again soon!

Jess


Friday 7 December 2018

Big Birthday Wish

Hello crafty friends!


I have a brand new SparkleNSprinkle December reveal card for you today! I decided to mash an old favorite with the new release - that fave is the Dahlia Rubber Stamp Set. I love the big, bold flowers with the beautiful scripted words in the new release "A Big Birthday Wish". I can see a whole bunch of handmade cards being created with this set.  The card I created for you today is a standard A2 (4.25"x5.5") card. 


Supply List:

Big Birthday Wish Rubber Stamp Set #931

Black Detail Embossing Powder EP171

Dahlia Rubber Stamp Set #500

Nuvo Aqua Flow Pens - Assorted Sets

Super Thick White Embossing Powder EP355

Versamark Ink VM001

Nuvo Crystal Drops - Copper Penny 654N

1/4" Tear-ific Tape SAT01

Bronze Rose Embossing Powder 335

I also used black and white cardstock from my stash.

Step 1 - Create the Background

The background was created using the same "ink smooshing" techniques in a few of my past posts, such as this one HERE.  Once I was happy with the colors, I trimmed down the cardstock to size and sprinkled on some Extra Thick White Embossing powder for texture (heat set from the under side). I used black cardstock to mat the background. 


Step 2 - Sentiment

I used Versamark Ink to stamp the sentiment onto a piece of white cardstock and embossed with Bronze Rose Embossing Powder. I love the shimmer to this power - so pretty! It's a cosmic powder, so you can simply wipe any "halo" it leaves off with a swiffer cloth (or something similar). I used the same random sprinkling technique with the Super Thick White Embossing powder on this piece as well.  The sentiment as adhered to a piece of black cardstock with 1/4" Tear-ific Tape. 

I wanted to tie in the sentiment to the background a little bit, so I let a large drop of ink from the Aqua Flow Pen drip into the corner. I think this gave the handmade card an almost "gothic" feel!


 Step 3 - Put it Together and Embellish!

I adhered the sentiment to the card with the 1/4" Tear-ific Tape and added a few drops of Copper Penny Crystal Drops to embellish. I can never be without Crystal Drops on a card these days. I love them!
  

Such a bold card - I really loved how the background stood out on this handmade card. I'm so glad you stopped by today!  I really enjoy reading your comments - so feel free to say hello!  See you really soon.

Jess

Wednesday 5 December 2018

Christmas Delight with Creative Knockouts

Hello crafty friends!

It's time for a new challenge over at Creative Knockouts Challenge 275!  Our theme this week is  "Christmas Delight" and our sponsor is Di's Digi Stamps.


I don't have anything current from Di's, so I'm sharing a card from a collection of "To My Wife" Christmas Cards that I've been busy working on!

Here is the handmade card I created:


I used a pretty sparkly embossing powder on the tree (the stamp is a retired set from CTMH).   A little blingy sparkle top was added along with glittery Ruby Slippers Glitter Drops! A Christmas Delight for sure! :D


I hope to see you at the challenge! :)

Until next time,

Jess

Butterfly Corner with Cheapo Dies


Happy Wednesday! 


WOW!  Do I ever have a busy day on the blog today!!!  Here is my second post of the day.

Wednesday is my day to share with you a new Cheapo Dies creation!


Today I am featuring the "Butterfly Corner" Die 

Cheapo Dies - Butterfly Corner


 I took a quick step away from Christmas cards and made a very cute princess card.
Here is the handmade card that I created:


I die cut 2 pieces of paper and used one in full, the other I cut apart and added to the top of the sentiment piece. I love how it turned out! 

 If you're not familiar with Cheapo Dies, here's a listing of their store, blog & FB links to help you get familiar:


Thanks to all of you for stopping by today.  Can't wait to see you again soon!

Jess


Scrapy Land Challenge #103

Hello friends!


Welcome to Scrapy Land {Challenge #103}!  I'm very excited to share my project with you.  For this project, I used a Spellbinders Layered Poinsettia Die to create my flowers!  You could use the Impression Obsession Poinsettia Set LARGE to create the same flowers. 

Impression Obsession Dies - Poinsettia Set Large


Here are a few more close ups of my handmade card:


I used a few different paper packs - CuteNCrafty Mommy Shabby Christmas Digi Paper, Bo Bunny's "Christmas in the Village" and Prima's "Santa Baby".  Of course I had to add a little sparkle to the flowers and some delicate lace trim.

A Little About our Challenge


The theme is always ANYTHING GOES using any brand of die that Scrapy Land sells.  In addition, we have TWO WINNERS for each challenge.  One will be a random winner and the other is chosen by the Design Team.  Each winner will receive a generous $10 gift certificate to Scrapy Land.

Scrapy Land carries over 55 brands of dies, so chances are you have a few of the brands in your stash!  You can see all the brands carried under the Products category.

Please link back to this Scrapy Land Challenge and include the link to this challenge on your blog post.  It would also be extremely helpful if you would list the brands of dies used in your project.  (Sometimes we can't tell if an item is a die cut or chipboard.)

We can't wait to see what you create!  It can be any style you like from CAS to mixed media and everything in between.    Just be sure there's a die cut from a brand that Scrapy Land sells!

Good luck!

See you soon!