Showing posts with label glitter. Show all posts

Friday, 28 December 2018

What's Mew?

Hi there!

I have a super sweet handmade card to share with you today for SparkleNSprinkle!  First up, here is my complete SNS Supply List.

Supply List

Let's get crafting!

Step 1 - Stamp & Color Your Focal Images

I stamped the kitty onto a piece of white cardstock and colored with the Nuvo Watercolor Pencils. I wanted to add a little texture to the kitty, so I added some Dark Chocolate Flocking to his tail using the Medium Nuvo Glue Pen.
  

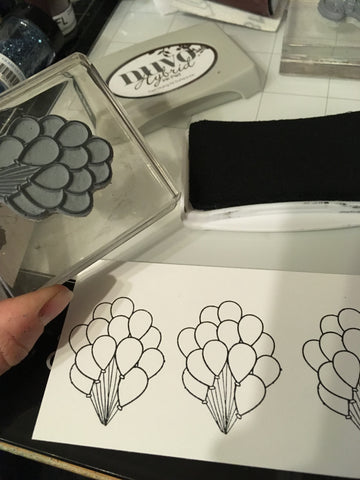
To make my balloons - I actually "doctored up" my rubber stamp by cutting the balloons from the kitty! This way, I can use them together OR separately! I stamped the balloons 3 times, then colored with my Aqua Flow Pens. Once it was all dry, I fussy cut out the kitty and the balloons. 
Step 2 - Create the Background

For the background, I die cut some of the Hailstorm Craft Perfect Paper using a layered die set. I wanted some sparkle around it, so I used the next size up to die cut a piece of sticker paper, then sprinkled on the Priceless Peacock Glitter, burnishing well with my finger tool.  I adhered the layers together using 1/4" Tear-ific Tape. 

Step 3 - Assemble & Embellish

I chose a fun, retro patterned paper for my background, then added my layers. I stamped my sentiment with Versamark ink and embossed with Madagascar Green Embossing Powder, To some of the balloons I added some of the Morning Dew Crystal Drops to make them shiny and add some unexpected texture.

Some of the Caramel Cream Crystal Drops were added to embellish. I tied a bit gold string from the balloons to the kitty! 
I hope you enjoyed this fun kitty card - I can't wait to share with you all the SNS goodness in 2019!
Jess

Monday, 22 October 2018

Cute N Crafty Challenge #12 - Anything Goes!

Hello friends!

It's time for a new challenge at Cute N Crafty Challenge! We welcome any project using an image from any artist. Our theme is......Anything Goes!

We welcome any card using an image from any artist.

 Optional using a CuteNCraftyMommy image.

If using one of the CuteNCrafty Mommy images, you will get put in for an additional PRIZE digi from the store!

Our Prize is 2 files from Treasure Box Designs!


Here is what I created with the  Mouse & Leaves set:


Since I don't work with SVG cuts, I simply printed off the image (TOOO CUTE!) and embellished it with a little glitter!  Who doesn't love a little glitter? :)

I hope you will play along! :)

See ya soon!

 photo MHKDesigns_FreshByJess_Signature.png

Friday, 19 October 2018

Christmas Kitty with SNS

Hello friends!!


I have another cute project to share with you for SparkleNSprinkle! It's that time of year - time to start on your Holiday Cards!  You are going to just love this sweet kitty stamp!!

SNS Supply List:


Let's get creating!  

Step 1 - Create your focal image!

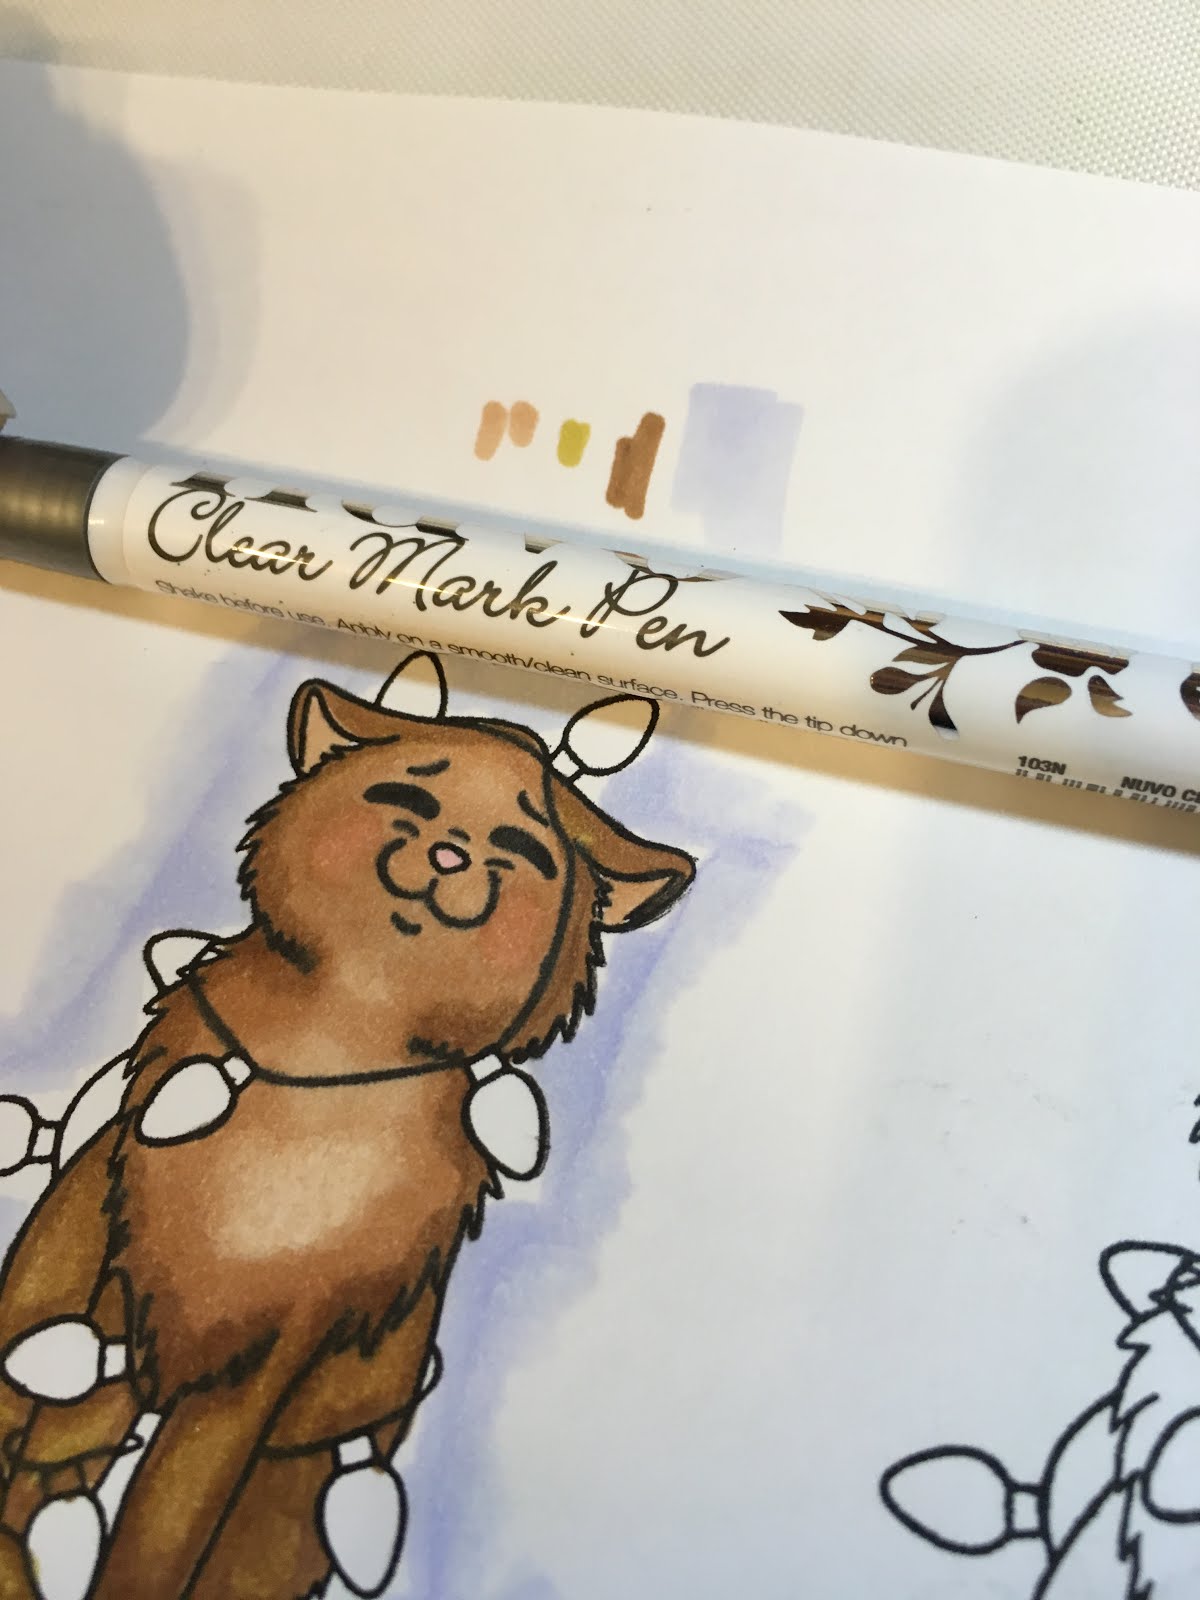
I started by stamping the sweet kitty onto a piece of white cardstock using Versafine Ink. I used my Nuvo Marker Pens to color up the kitty. 

     
Once she was all colored, I used my Nuvo Clear Mark Embossing Pen to add Blue Silver Embossing Powder to the string of lights. It's a pretty neat way to add small details of embossing powder.


I used the SNS Dimensional Glue to add Christmas Lights Glitter and Fire Engine Red Glitter to the lights for sparkle!  Then the kitty was fussy cut out.


Step 2 - Work on your BACKGROUND

I cut some ovals using the Tonic Mixed Edge Ovals die and stamped the string of lights image with Versafine Ink. Once again I colored the lights using Nuvo Marker Pens and added Silver Embossing Powder to the lights using the Clear Mark Embossing Pen. I did add a bit of the glitter to these lights too.


Step 3 - Sentiments

I stamped the Sentiment with Versamark Ink and embossed with Red Apple Embossing Powder.


Step 4 - Put It ALL Together and Embellish!


All the layers were added using the 1/2" Tear-ific Tape.  Drops of Ruby Slippers Glitter Drops were added in the corners for accents.  I used the Christmas Sequins - they are just too cute!


I hope you like this sweet kitty card!  It's just an adorable set - I know you will love it!

Want to save 10% on all your regular SparkleNSprinkle purchases? Use code JessDT10 when you checkout!

See you again really soon!

 photo MHKDesigns_FreshByJess_Signature.png

Friday, 12 October 2018

Sweet Baby Unicorn Banner

Hello friends!!


I have another cute project to share with you for SparkleNSprinkle!  This cute home decor banner features the Sweet Baby Unicorn Stamp Set and I can't wait to show you how I made it!

SNS Supply List:


Step 1 - Create your focal image!

I started by stamping the sweet little baby unicorn 3 times onto watercolor paper using Versamark Ink and heat embossed it with Black Detail Embossing Powder,  Nuvo Aqua Flow Pens were used to color the 3 unicorns. I fussy cut out all the unicorns and set them aside. You will notice that I don't have the little hearts surrounding the unicorn - that is because I doctored up my rubber! I simply cut the hearts off and left them as stand alone pieces!  Now I have extra hearts to use!!


Step 2 - Work on your BANNER PIECES

I used the Tonic Beautiful Bunting Jubilant Jubilee Die to cut out 3 gray pennants and 3 plaid interior pennants.  You will love how cleanly the dies cut! I also used the Tonic Mixed Edge Ovals die to cut a set of 3 pink scalloped ovals.


Step 3 - Sentiments

I stamped all 3 of the sentiments onto white cardstock using Versamark Ink and embossed with Rosa Embossing Powder. I used some pink cardstock to matte them - all adhered with 1/2" Tear-ific Tape of course!


Step 4 - Put It ALL Together and Embellish!

To embellish, I stamped the large heart image onto pink cardstock 3 times and fussy cut out. Using the Nuvo Deluxe Adhesive,  I added some Unicorn Glitter. I added some of the HAI Supply Silver Clear Flower Sequins using the Nuvo Deluxe adhesive. I added a few dots of Nuvo Crystal Drops in Bubble Gum Blush to each corner of the pennants and finally, a gray twine was added to hang the banner using 1/2 Tear-ific Tape!


There you have it!  A perfect baby shower decor item!  You could simply switch the colors to refllect your party theme!

Want to save 10% on all your regular SparkleNSprinkle purchases? Use code JessDT10 when you checkout!

See you again really soon!

 photo MHKDesigns_FreshByJess_Signature.png

Friday, 21 September 2018

SparkleNSprinkle - Spring Chickens

Happy Friday!


It's time for another fabulous SparkleNSprinkle release - this one is called "Spring Chickens".  It is just full of fun sentiments perfect for making funny cards!  This is another fun slider card too :)  You will remember the instructions from my previous post HERE.

Here is my complete SNS Supply List:


Ok!  So I started by stamped my Spring Chickens onto white Neenah Cardstock and then colored them using my Nuvo Marker Pens. I added a bit of texture to the body using the Snow White Flocking, which I adhered with the Nuvo Medium Glue Pen. Then I fussy cut out all the cute chickens!


I set those aside and built my slider card.

The sentiment was stamped with Versamark Ink and embossed with Tangy Tangerine Embossing Powder. I used a bit of orange cardstock as a mat and adhered the layers with 1/4" Tear-ific Tape. I felt the card needed something else - so I grabbed an older set called "Farm Fresh Cows" and stamped the egg baskets with Versamark Ink, heat embossing with Coffee Embossing Powder. I colored the eggs with my Nuvo Aqua Flow pens and again, fussy cut them out.


Around the border of the front of the card, I used 1/2" Tear-ific Tape and Butterscotch Glitter. The slider card was assembled and adhered with 1/4" Tear-ific Tape.


For the sentiment inside the card, I stamped with Versamark and embossed with Tangy Tangerine. Finally, Nuvo Crystal Drops in Ripened Pumpkin and English Mustard were added for a finishing touch (I love doing this!).


I can see myself using this stamp set for many cards! :)  See you next time!

 photo MHKDesigns_FreshByJess_Signature.png

Wednesday, 12 September 2018

Creative Knockouts #263 - A Charmed Life

Hello crafty friends!

It's time for a new challenge over at Creative Knockouts Challenge #263!  Our theme this week is  "A Charmed Life" (use a charm anywhere on your card!) and our sponsor is Imagine That.  I chose to work with a stamp set called "Birthday Seahorse".  It was just sooo darn cute, I couldn't resist!

Imagine That digistamp


Here is what I created:


After I printed the digi, I added some glitter accents to the image using a glue pen. Little sequins from the Enchanted Sea Sequin mix by HAI Supply were added as accents. I did a bit of splattering to finish off the front and of course, a cupcake charm was added to the sweet seahorse!

I hope to see you at the challenge! :)

Until next time,

 photo MHKDesigns_FreshByJess_Signature.png

Thursday, 16 August 2018

Feathered Friends #1 for SparkleNSprinkle

Hello crafty friends!


I have a beautifully feathered card to share with you today for SparkleNSprinkle!!!

Here is my SNS Supply List:


Let's get crafty!!  I started by making a whole bunch of options with the wreath and sentiment!  I stamped everything with Versamark Ink, embossed with Black Detail Embossing Powder and used the Nuvo Aqua Flow Pens to do the majority of the coloring.  I really wanted to distress the look of them, so I used the Nebula Blue & Turkish Rose Mica Mists to add some background color. I also used the Nuvo Shimmer Powder in Atlantis Burst, Cherry Bomb and Solar Flare!  To use the Shimmer Powders - I usually sprinkle them on the paper GENTLY (it comes out fast!) and then spray with water. You can also move the paint around with an empty Aqua Flow Painter once it's wet.


Once everything was nice and dry, I fussy cut some of the wreaths and chose the one I wanted to use for this particular card. I cut out a piece of Broken Glass Craft Perfect paper for the background. I wanted to jazz up the background a bit too - so I cut a piece of pink cardstock and laid out some tracks of 1/4" Tear-ific Tape!  To the tape I added Dragon Fruit Embossing Powder and Strawberry Sherbet Embossing Powder. It made a cool zigzag effect!!!

I decided I needed a ribbon - so I made my own!  Using Demo Donna's FABULOUS Glitter Ribbon technique, I used the Margarita Glitter and the 1/2" Tear-ific Tape to make my ribbon. You can find the technique HERE.


I accented the card using Yellow Bird and Gold Coast Glitter Drops.  All of the layers were adhered using 1/4" Tear-ific Tape!


The sentiment was stamped using Versamark and Sky Blue Spark Embossing Powder. 

I hope you enjoyed this card. This stamp set is just beautiful - and so versatile!  Be sure to pick it up while it's on sale. If you are reading this after the new release sale, you can still save yourself 10% by using the code "JessDT10" when you checkout at our SparkleNSprinkle Store!


 photo MHKDesigns_FreshByJess_Signature.png