
Hello crafty friends!

Welcome to my first REVEAL card for September! We have lots to share with you this month - so hold on tight! The first set I am working with is called "Dancing Penguin". You can actually buy it alone or as a bundle with Crystal Snowflake for a savings! I created a super cute slider card.
Here is my SNS Supply List:
This card is a snap to make - in fact, you are going to see a second version of it later this month! :)
Start with your background paper - it's going to be 5.5" x 8.5". You are going to score it at 4" and again at 8". You are also going to cut a slit 1" from the right hand side - this is where your "slide" will be. (I attached my front panel first before I cut the slit). Cut it from 1" from the top down to 4.5". This is going to create your "pocket". Your insert for the slider is going to be slightly smaller -
3 3/4" x 5".

You will also use a circle punch to cut out your "tab" at the top of the slider. A piece of 1/4" Tear-ific Tape is placed on the right hand edge to close up your pocket.


To attach your slider front to back, you will take a small strip of scrap paper about 1/2" x 2.5" and put it through the slit - attaching your image on the front and the back to your slider insert. When you pull out your insert, your character will slide to the top!

I stamped my image with the Nuvo Hybrid Black Shadow Ink and I colored my sweet little penguin friend with Nuvo Marker Pens. A bit of Aztec Gold Glitter to this little bell using Nuvo Deluxe Adhesive. After the Glitter dried, I fussy cut out my penguin and set him aside.


The background of the front panel was fun! I stamped the snowflakes from the Crystal Snowflake set randomly over my paper with Versamark Ink. I gently sprinkled on some of the Atlantis Burst Shimmer Powder and GENTLY burnished it into the Versamark with a brush! It gave me this icy, shimmery background! SOO Cool! Even cooler? When I finished off my project with the Gold Coast Glitter Drops, some of the Glitter Drops picked up the shimmer powder color and turned blueish! Fun! :) I'm sure at this point you could have spritzed with water to activate the pigments, but I just left it as is. I also used the same technique on my slider inside panel.


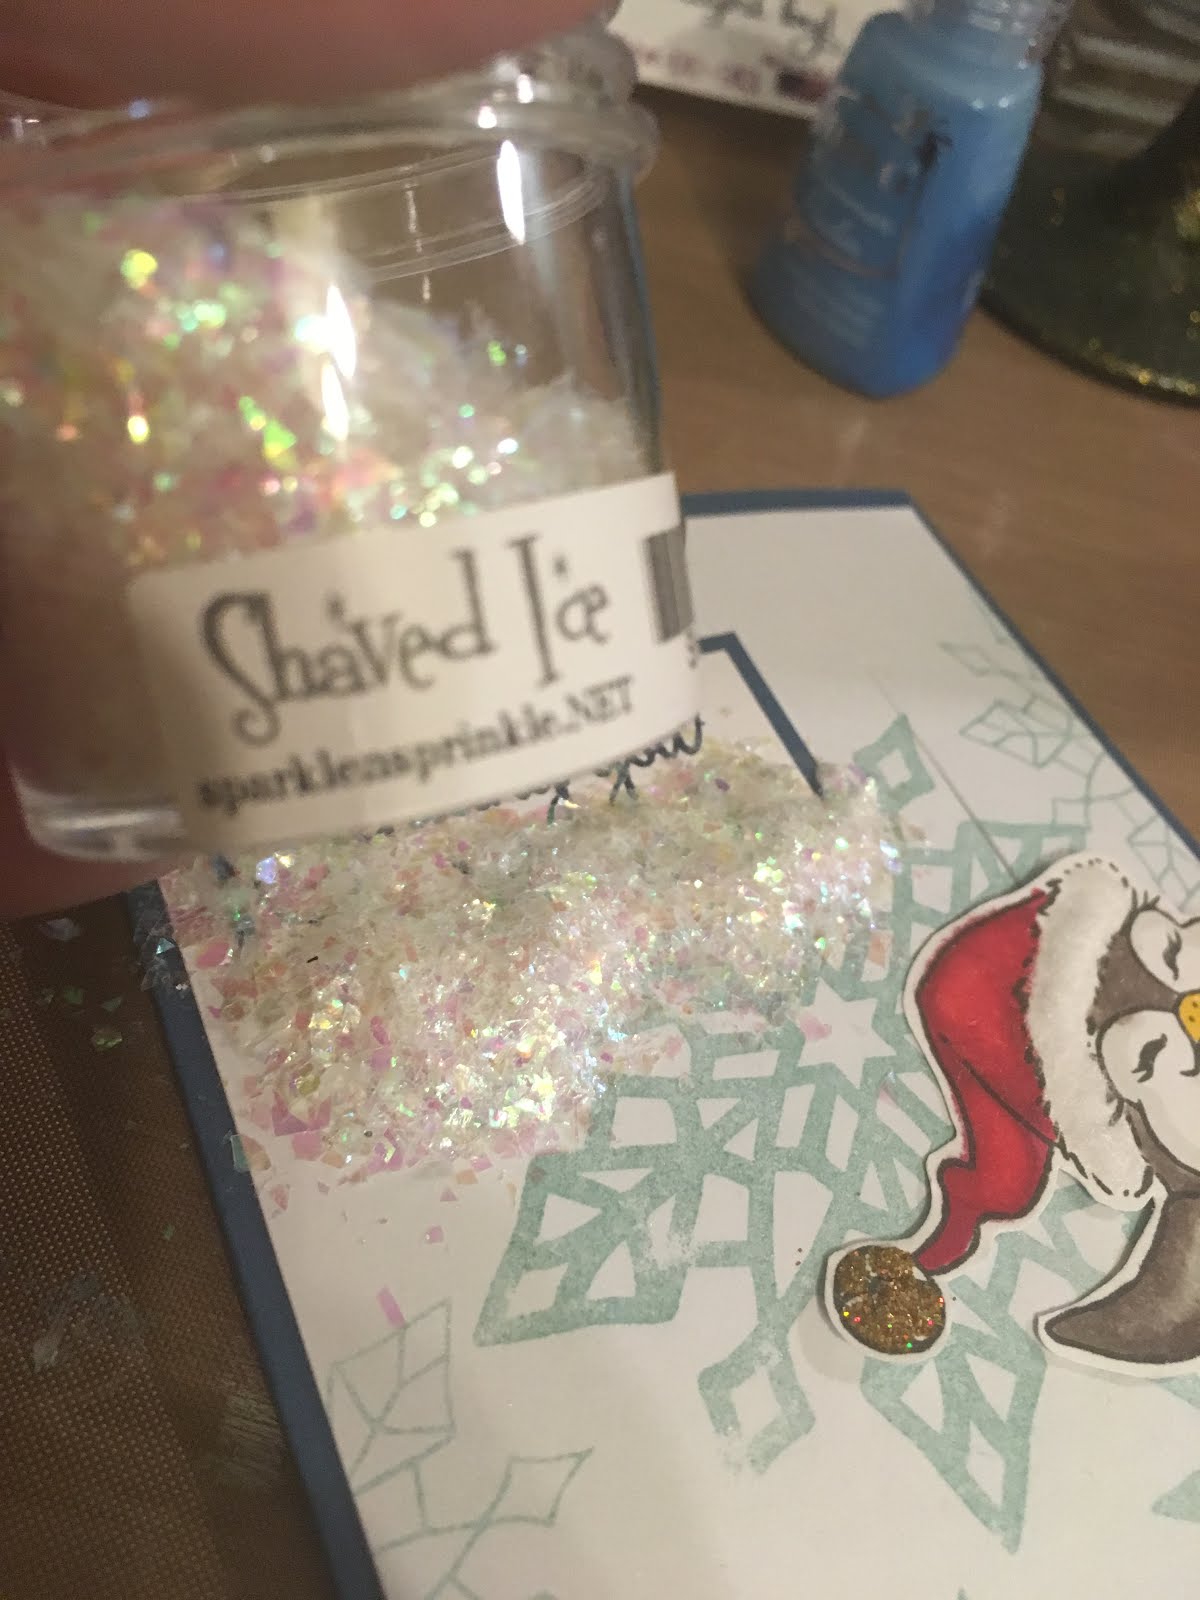
The sentiments were stamped with Veramark Ink and embossed with one of my faves - Nautical Embossing Powder! I matted with a piece of blue carstock and then after attaching to my cardfront, I added some Shaved Ice Glitter with Dimensional Glue (NOTE: Don't try to slide your penguin up before your glue dries - don't ask me how I know! haha).

I just love the final outcome! Fun and happy, don't you think? :)


Can't wait to share the rest of my projects with you this month!! Don't forget to check out BOTH of our challenges this month - our SparkleNSprinkle Creative Challenges AND our Facebook Challenge Group. Last but not least, if you want to order any of the fun products I used today, you can save 10% off your order by using the code "JessDT10" at checkout! :)
See you again soon!

No comments:
Post a Comment