Showing posts with label slider card. Show all posts

Friday, 21 September 2018

SparkleNSprinkle - Spring Chickens

Happy Friday!


It's time for another fabulous SparkleNSprinkle release - this one is called "Spring Chickens".  It is just full of fun sentiments perfect for making funny cards!  This is another fun slider card too :)  You will remember the instructions from my previous post HERE.

Here is my complete SNS Supply List:


Ok!  So I started by stamped my Spring Chickens onto white Neenah Cardstock and then colored them using my Nuvo Marker Pens. I added a bit of texture to the body using the Snow White Flocking, which I adhered with the Nuvo Medium Glue Pen. Then I fussy cut out all the cute chickens!


I set those aside and built my slider card.

The sentiment was stamped with Versamark Ink and embossed with Tangy Tangerine Embossing Powder. I used a bit of orange cardstock as a mat and adhered the layers with 1/4" Tear-ific Tape. I felt the card needed something else - so I grabbed an older set called "Farm Fresh Cows" and stamped the egg baskets with Versamark Ink, heat embossing with Coffee Embossing Powder. I colored the eggs with my Nuvo Aqua Flow pens and again, fussy cut them out.


Around the border of the front of the card, I used 1/2" Tear-ific Tape and Butterscotch Glitter. The slider card was assembled and adhered with 1/4" Tear-ific Tape.


For the sentiment inside the card, I stamped with Versamark and embossed with Tangy Tangerine. Finally, Nuvo Crystal Drops in Ripened Pumpkin and English Mustard were added for a finishing touch (I love doing this!).


I can see myself using this stamp set for many cards! :)  See you next time!

 photo MHKDesigns_FreshByJess_Signature.png

Friday, 7 September 2018

SparkleNSprinkle - Dancing Penguin

Hello crafty friends!


Welcome to my first REVEAL card for September!  We have lots to share with you this month - so hold on tight!  The first set I am working with is called "Dancing Penguin".  You can actually buy it alone or as a bundle with Crystal Snowflake for a savings! I created a super cute slider card.

Here is my SNS Supply List:


This card is a snap to make - in fact, you are going to see a second version of it later this month! :)

Start with your background paper - it's going to be 5.5" x 8.5". You are going to score it at 4" and again at 8".   You are also going to cut a slit 1" from the right hand side - this is where your "slide" will be. (I attached my front panel first before I cut the slit).  Cut it from 1" from the top down to 4.5". This is going to create your "pocket". Your insert for the slider is going to be slightly smaller - 
3 3/4" x 5".


You will also use a circle punch to cut out your "tab" at the top of the slider. A piece of 1/4" Tear-ific Tape is placed on the right hand edge to close up your pocket. 


To attach your slider front to back, you will take a small strip of scrap paper about 1/2" x 2.5" and put it through the slit - attaching your image on the front and the back to your slider insert. When you pull out your insert, your character will slide to the top!


I stamped my image with the Nuvo Hybrid Black Shadow Ink and I colored my sweet little penguin friend with Nuvo Marker Pens.  A bit of Aztec Gold Glitter to this little bell using Nuvo Deluxe Adhesive. After the Glitter dried, I fussy cut out my penguin and set him aside. 


The background of the front panel was fun! I stamped the snowflakes from the Crystal Snowflake set randomly over my paper with Versamark Ink. I gently sprinkled on some of the Atlantis Burst Shimmer Powder and GENTLY burnished it into the Versamark with a brush! It gave me this icy, shimmery background! SOO Cool!  Even cooler? When I finished off my project with the Gold Coast Glitter Drops, some of the Glitter Drops picked up the shimmer powder color and turned blueish!  Fun! :) I'm sure at this point you could have spritzed with water to activate the pigments, but I just left it as is. I also used the same technique on my slider inside panel.


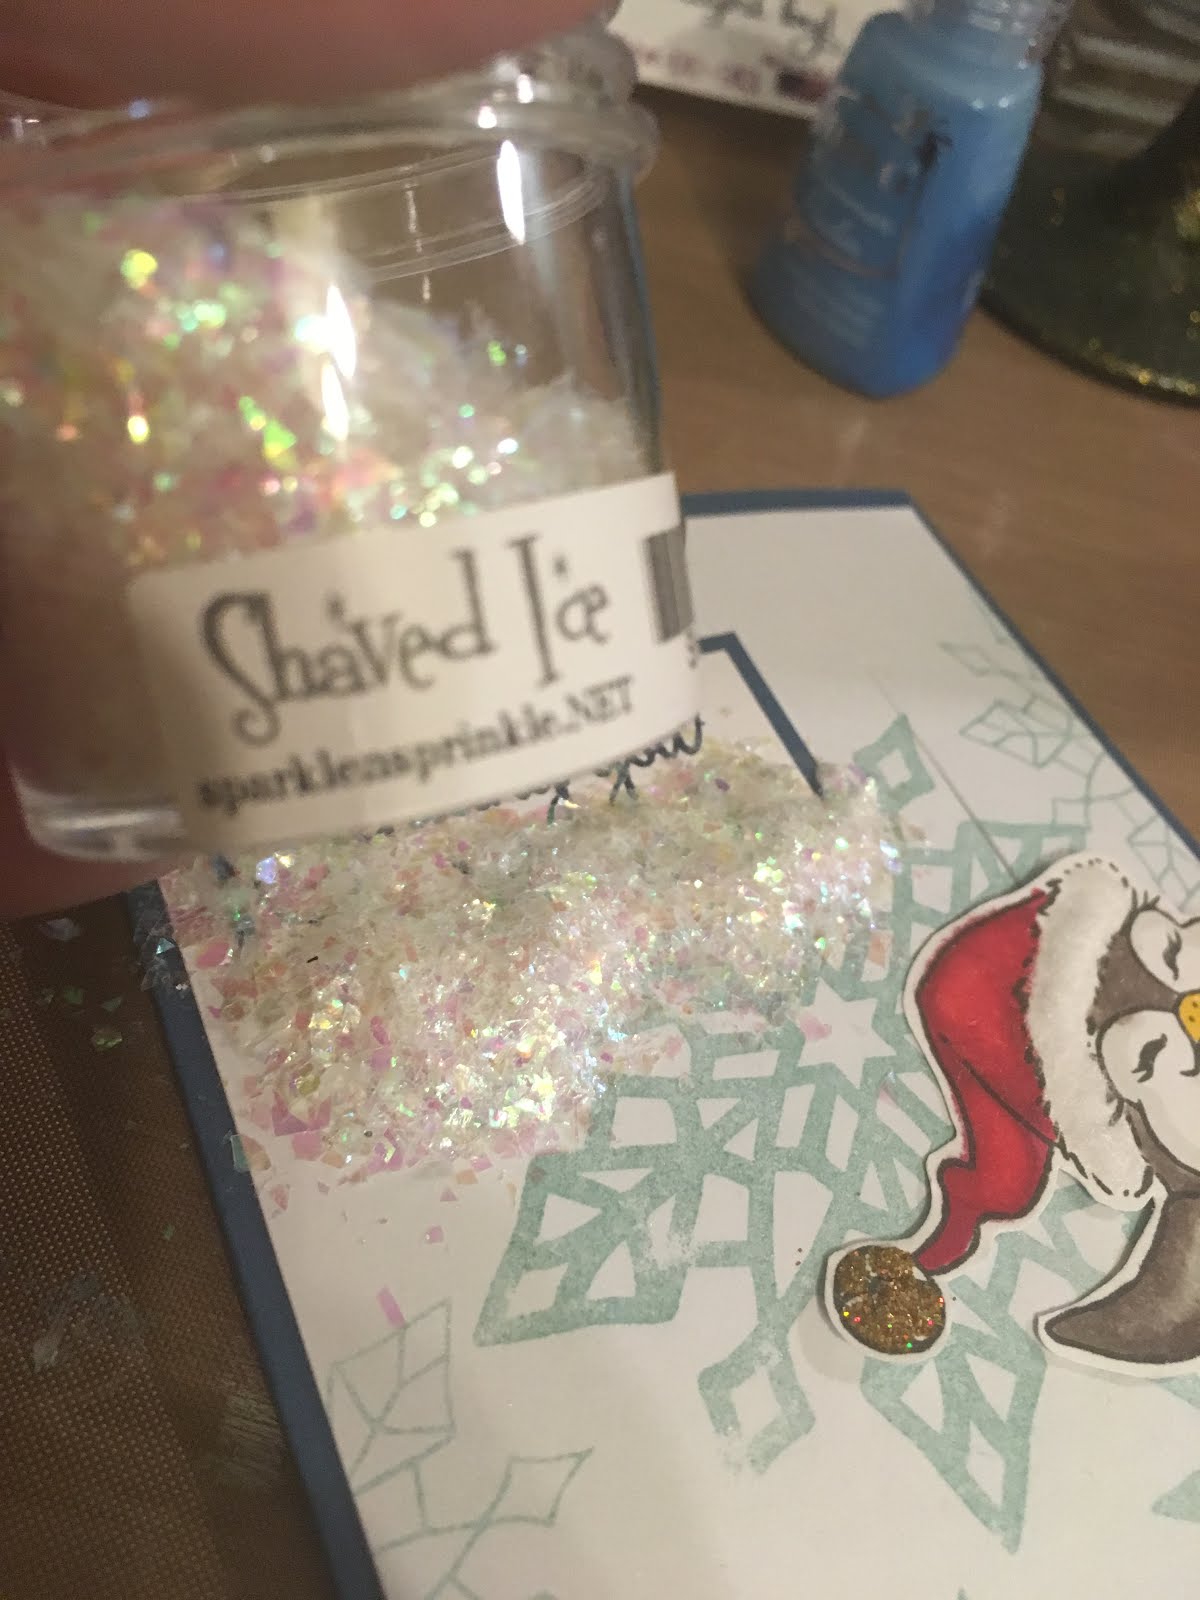
The sentiments were stamped with Veramark Ink and embossed with one of my faves - Nautical Embossing Powder!  I matted with a piece of blue carstock and then after attaching to my cardfront, I added some Shaved Ice Glitter with Dimensional Glue (NOTE: Don't try to slide your penguin up before your glue dries - don't ask me how I know! haha).


I just love the final outcome!  Fun and happy, don't you think? :)


Can't wait to share the rest of my projects with you this month!!    Don't forget to check out BOTH of our challenges this month - our SparkleNSprinkle Creative Challenges AND our Facebook Challenge Group. Last but not least, if you want to order any of the fun products I used today, you can save 10% off your order by using the code "JessDT10" at checkout! :)

See you again soon!

 photo MHKDesigns_FreshByJess_Signature.png

Friday, 7 October 2016

SparkleNSprinkle - Elephant Christmas Slider Card


Hello friends!


I'm here with another gorgeous creation for SparkleNSprinkle.  We had sooo many amazing stamps to choose from this month.  This super fun slider card was created using Elephant Christmas, some of the amazing new Nuvo Gilding Flakes AND Glimmer Paste!  


Let's get started!

Supply List:
Elephant Christmas Stamp Set #802
Versamark Ink - VM001
White Cardstock
Green Cardstock

Step 1 - Stamp and color your images.  
I stamped the elephant, the tree and the stockings onto white cardstock, then colored with my TwinTouch Markers. I then fussy cut everything out into parts (the stamp is a solid image - so I thought this was a great way to change up the image! :)  I did my stamping using Onyx Black VersaFine Ink .


Step 2 - Add some SPARKLE! 
For this tree, I added the NEW Moonstone Glimmer Paste to the bottom of the tree  and the elephant's Santa Hat using a small spoon.  It was dry in about an hour or so (leave over night for complete curing). I added some of the Sparkling Snow Semi-Transparent Glitter &  Inference Glitter to the ornaments using the Small Nuvo Glue Pen.   I also used Rhubarb Crumble Nuvo Crystal Drops on some of the ornaments and the stocking decoration. Puffy liquid applique was applied to the stocking tops.


Step 3 - Background

To create my card front background, I ran the Nuvo Large Glue Pen around the outside edge and let dry.  Then I got to play with my Silver Bullion Gilding Flakes!  Oh what fun!  You simply sprinkle all over the adhesive, rub on gently and brush away the excess. P.S.  Don' sneeze when you have the lid open!  Flakes everywhere! LOL


Step 4 - create your slider panel.
I used 2 pieces of white cardstock (cut the same size). I punched out the "slider" area using a window punch.  Then I applied foam adhesive all around the edges of the panel and right along where I wanted my slider to be.  I took a penny and applied a small piece of the foam on the back of the penny. Placing it in the slider hole, flip over the panel, then adhered the little elephant image on the front side of the penny. Remove all the foam tape backing and add your second piece of white cardstock (this closes the entire slider back). 


Step 5 - Decorate the front!

All I did was simply place my trimmed images on the card front to make my scene.  I wanted the elephant to look like it was hanging an ornament on the tree :)  I did a little swirl embellishing using the Small Nuvo Glue Pen and the Inference Gold Glitter.  The sentiment actually came from the July Release stamp called "The Christmas Skate". It was stamped in Versamark and heat embossed with Christmas Fire Embossing Powder.  I popped it up with a bit of Foam tape :)  I adhered the fussy cut images with 1/2" Tear-ific Tape and then added the whole white panel to the Green Card Front.


I hope you enjoy my cute Slider Card and are inspired to go and create your own! 

Have a great weekend (Happy Thanksgiving if you are in Canada!)