Showing posts with label Aqua Flow Watercolor Pens. Show all posts

Friday, 21 September 2018

SparkleNSprinkle - Spring Chickens

Happy Friday!


It's time for another fabulous SparkleNSprinkle release - this one is called "Spring Chickens".  It is just full of fun sentiments perfect for making funny cards!  This is another fun slider card too :)  You will remember the instructions from my previous post HERE.

Here is my complete SNS Supply List:


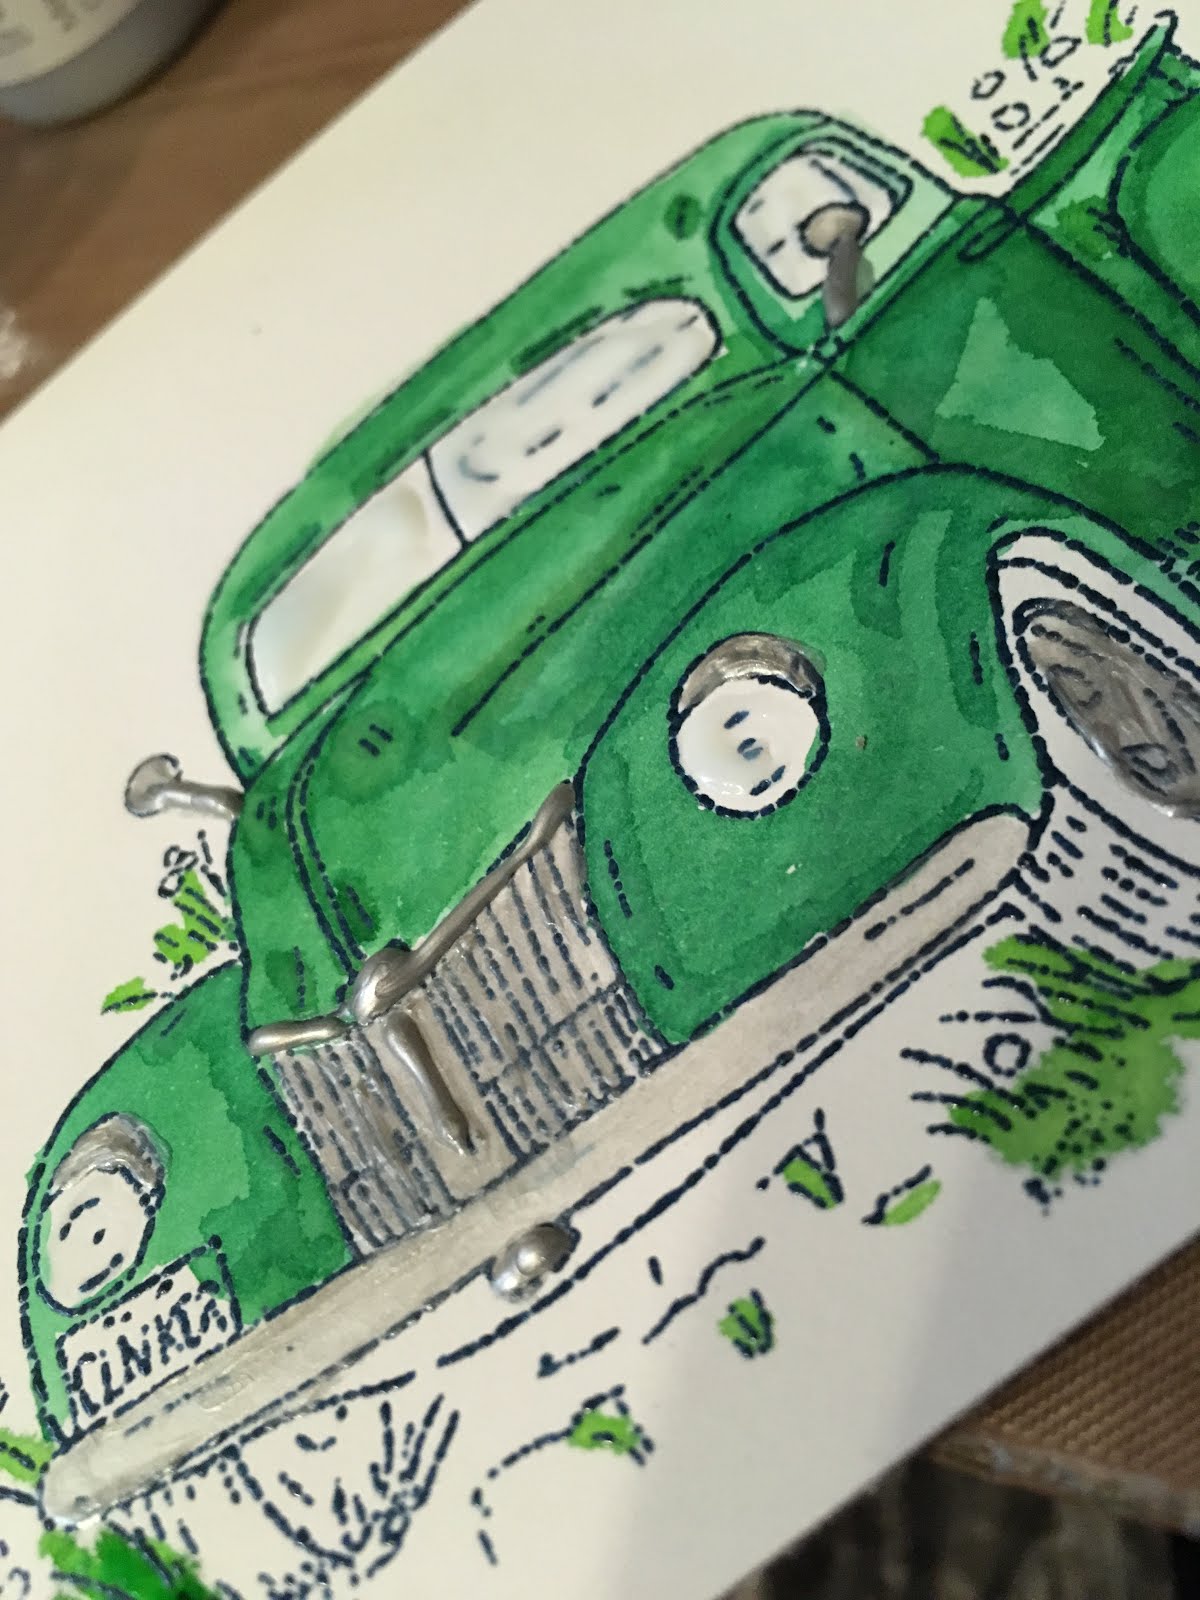
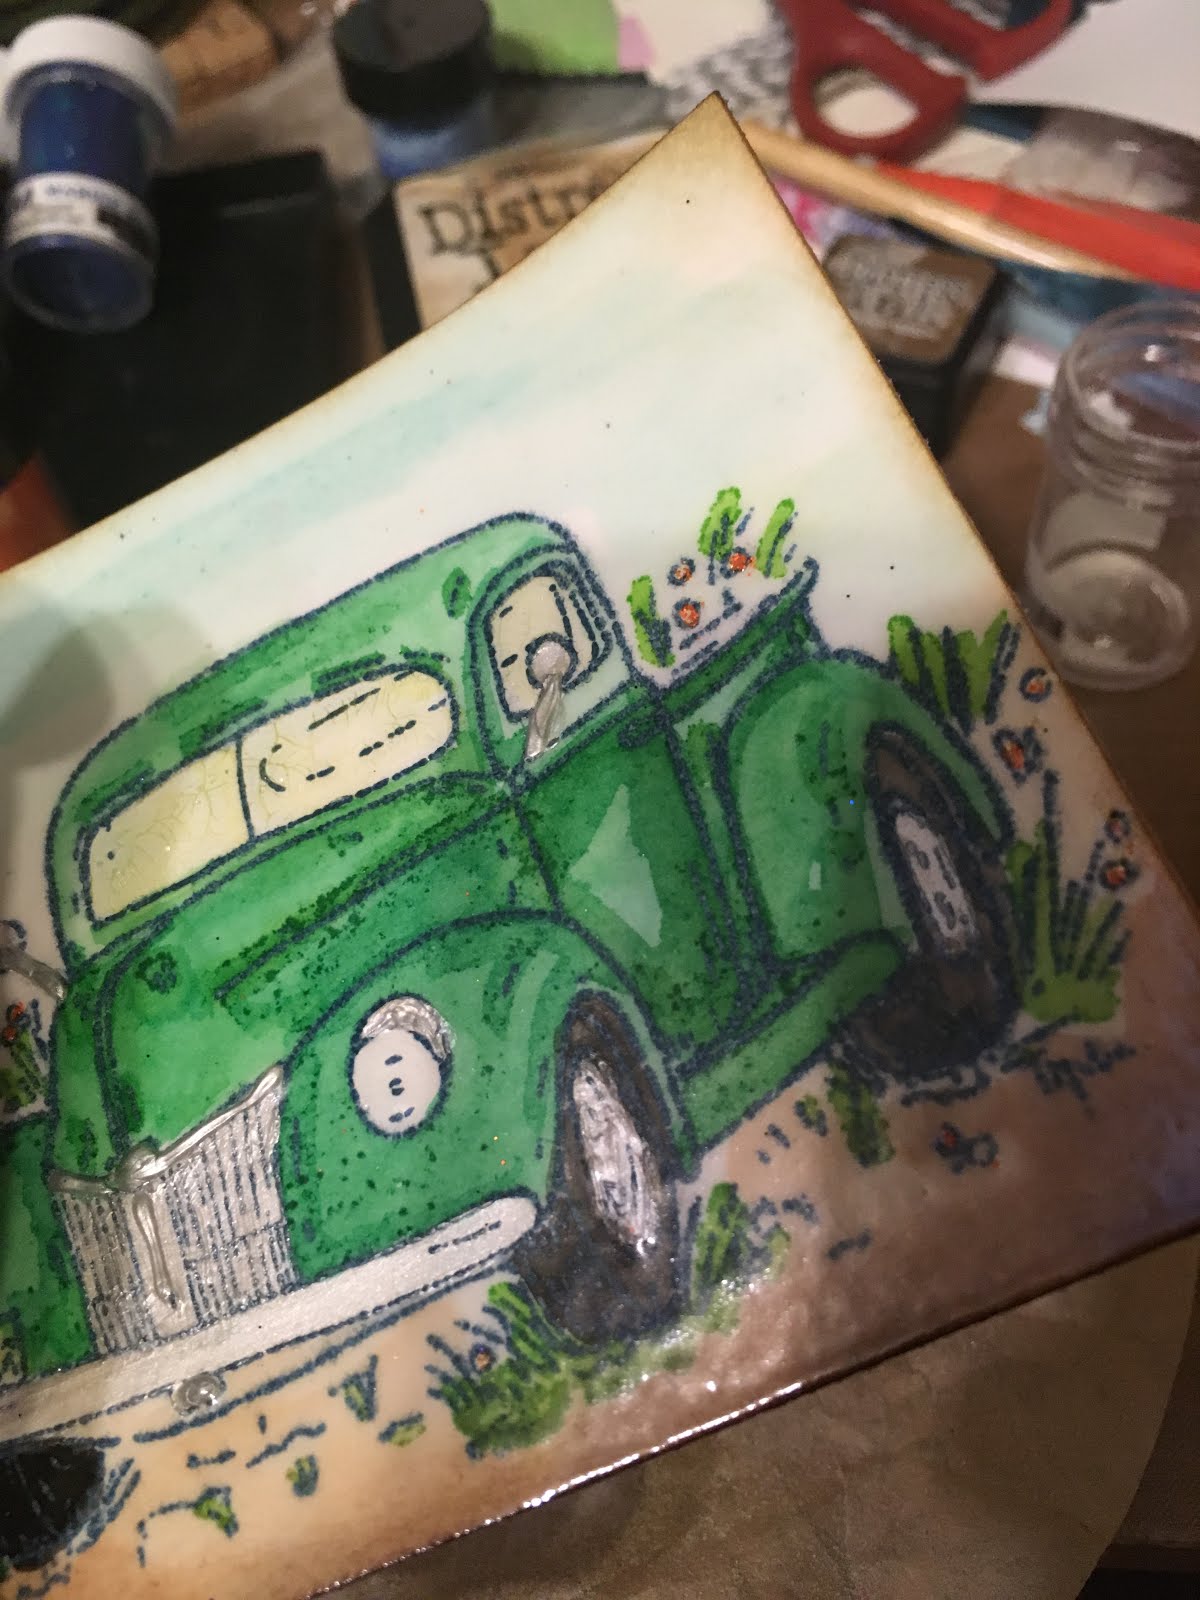
Ok!  So I started by stamped my Spring Chickens onto white Neenah Cardstock and then colored them using my Nuvo Marker Pens. I added a bit of texture to the body using the Snow White Flocking, which I adhered with the Nuvo Medium Glue Pen. Then I fussy cut out all the cute chickens!


I set those aside and built my slider card.

The sentiment was stamped with Versamark Ink and embossed with Tangy Tangerine Embossing Powder. I used a bit of orange cardstock as a mat and adhered the layers with 1/4" Tear-ific Tape. I felt the card needed something else - so I grabbed an older set called "Farm Fresh Cows" and stamped the egg baskets with Versamark Ink, heat embossing with Coffee Embossing Powder. I colored the eggs with my Nuvo Aqua Flow pens and again, fussy cut them out.


Around the border of the front of the card, I used 1/2" Tear-ific Tape and Butterscotch Glitter. The slider card was assembled and adhered with 1/4" Tear-ific Tape.


For the sentiment inside the card, I stamped with Versamark and embossed with Tangy Tangerine. Finally, Nuvo Crystal Drops in Ripened Pumpkin and English Mustard were added for a finishing touch (I love doing this!).


I can see myself using this stamp set for many cards! :)  See you next time!

 photo MHKDesigns_FreshByJess_Signature.png

Wednesday, 19 September 2018

Scrapy Land Challenge #98

Hello friends!


Welcome to Scrapy Land {Challenge #}!  I'm very excited to share my project with you.


This was a super fun card to make!  I started by making a cool background - you can see how I did it on my YouTube Channel HERE.  Next, I took some Tonic Studios Satin Black Cardstock and die cut it using Memory Box Pennington Rose Blossoms die and the "Congrats" was from Tonic Studios - but you could use the following dies:

Dee's Distinctively Dies - Congrats

Dee's Distinctivley Dies - Congrats

Memory Box Dies - Pennington Rose (simply cut off the stem)
Memory Box Dies - Pennington Rose

I adhered my die cut images using my mini Xyron machine.


Building the backgrounds :)


Die cut flowers all ready on the Xyron tape!


Basic black matted background to make the colors POP!

The theme is always ANYTHING GOES using any brand of die that Scrapy Land sells.  In addition, we have TWO WINNERS for each challenge.  One will be a random winner and the other is chosen by the Design Team.  Each winner will receive a generous $10 gift certificate to Scrapy Land.

Scrapy Land carries over 55 brands of dies, so chances are you have a few of the brands in your stash!  You can see all the brands carried under the Products category.

Please link back to this Scrapy Land Challenge and include the link to this challenge on your blog post.  It would also be extremely helpful if you would list the brands of dies used in your project.  (Sometimes we can't tell if an item is a die cut or chipboard.)

We can't wait to see what you create!  It can be any style you like from CAS to mixed media and everything in between.    Just be sure there's a die cut from a brand that Scrapy Land sells!


Good luck!

 photo MHKDesigns_FreshByJess_Signature.png

Tuesday, 17 April 2018

Stamprints - April

Hello crafty friends!


It's my turn to showcase at Stamprints! :) 

Here is my card featuring the "Flower Spray" stamp set.  This is what I created:


I printed out the digi and watercolored using Tonic Spring Meadow Aqua Flow Painters and Pearlescent Watercolors. Sunlit Meadow Glitter Drops and Ivory Seashell Crystal Drops were used to accent the image.

I hope you enjoy this card!

See you next time!

Jess

Friday, 23 March 2018

Vintage Truck

Hello friends!


I'm here today to share my final March New Reveal card for SparkleNSprinkle!

Supply List:


Misc. Supplies:
Green Bakers Twine
White Cardstock
Brown Plaid Patterned Paper

Alright!  Let's get crafty!

First up, you can refer to my previous blog post, found HERE as to how I watercolored/created the truck image. :) 

In a nutshell:
1. Stamp image with Versamark Ink and heat emboss with Nautical Embossing Powder
2. Watercolor with the Nuvo Aqua Flow Watercolor Pens :)
3. Use Sea Breeze & Grey Mist Jewel Drops to create the windows of the truck (I painted them on)
4. Use Silver Lining Crystal Drops to create the "chrome" effects of the truck


To make my background, I first cut my card base out using the Tonic Studios Die called Sunray Venus Layering Basics Die Set.  I also cut out a piece of brown plaid patterned cardstock and sticker paper, using one of the nesting small shapes. To the exposed adhesive, I added some Gecko Glitter (soooo pretty!!!). I also added some hints of sparkle using Marine Blue Glitter to the flowers around the truck. I used the Nuvo Medium Glue Pen to adhere the glitter. 


For my sentiment, I cut out a small frame using the same die set (such versatility - everyone should stock up on all these essential dies!). I stamped the sentiment using Versamark Ink and embossed with Forest Green Embossing Powder. A matted background of sticker paper was added using Marine Blue Glitter.


Final step!  Let's adhere everything together and embellish!  Your 1/2" Tear-ific Tape will hold everything perfectly in place.  I did throw a couple pieces of the 1/4" on there too! LOL  I tied a few rounds of green bakers twine to add some other interest.


Finally, I added Glitter Drops in Sunlit Meadow to frame the final image. I just felt it needed a little more sparkle, you know? :D


I hope you enjoyed this card tutorial!  Make sure you head over to the SNS Blog to leave a comment AND leave a comment here to be eligible to win our monthly prize!!!

I have a little announcement to make here too - I am now the Design Team Coordinator for the SparkleNSprinkle Design Team!  Just wanted to share with you all!!!

See you in April for our next big reveal!! :)


Friday, 16 March 2018

SparkleNSprinkle - I Love Old Trucks

Hello friends!


I will share that this card looks very complicated, but I promise, it came together quite quickly.  Lots of Distress Ink was used as well :)  

First step, let's create the truck!  I stamped the truck image using Versamark Ink and embossed with Nautical Embossing Powder. I wanted to give more color and depth than just basic black. Next, I grabbed my sets of Nuvo Aqua Flow Pens and watercolored the image. I also "watercolored" the windows of the truck using the Grey Mist Crystal Drops!  Did you know that you can do that? Try it! :) I always use an acrylic block as my paint palette - not sure why, but it work awesome and cleans up perfectly.


Once the truck was finished coloring, I added shiny chrome details using the Silver Lining Crystal Drops. I love how precise you can get the lines!


Once everything was dry, I added Distress Ink in Antique Linen and Gathered Twigs to really age the paper. I did add a few hints of the Creamsicle Glitter to the flowers. 


Next came the real fun - cracked glass technique!  Simply cover your entire paper with Versamark Ink, then sprinkle on your Clear Detail Embossing Powder. Heat set and repeat the process 3 or 4 times. Place your paper in the freezer for about 5 minutes, then immediately "crack" the paper when you take it out!  I just wanted a subtle glass image, so I used the regular Clear Detail. If you wanted a more cracked glass look, simply try the Super Thick Clear Embossing Powder!  I did rub a bit more Distress Ink into the cracks to make them more pronounced. 


The rest of card came together quite quickly. I distressed some patterned paper with the Distress Ink and stamped the sentiment with Versamark Ink, embossing with the Forest Green Embossing Powder. I added a strip of the Patchwork Parchment Craft Perfect Paper and a 1/2" Tear-ific Tape Glitter Strip using the Mocha Glitter. I cut out some of the little "x" shapes of the paper and adhered it as an embellishment. Crystal Drops in Dark Walnut were added as a finishing touch!  I distressed the sentiment a bit too!  All the layers were attached with the 1/2" Tear-ific Tape (of course!). 


Make sure you head over the the SNS blog and leave a comment there as well to be entered for the prize!


Have a great day!


Jess


Friday, 2 March 2018

SparkleNSprinkle - Pretty Blooms Tag Card

Hello friends!


I have 2 new cards to share with you today for SparkleNSprinkle!  This first one features a tag element! While it's not removable, I thought it was a cool element to add.  Here is my SparkleNSprinkle supply list:


So now that I told you what I used, now I will show you how to use it! :)

First I started by creating the "tag" itself. I had a few blank white large tags on my desk, so I grabbed one and started creating. I stamped the floral image from the Pretty Blooms set using Versamark and embossed with Black Detail Embossing Powder. Then I went about my watercoloring! I somehow took a ton of photos of these steps, so here is a picture tutorial on how I did it!!


I simply adore the Nuvo Aqua Flow Watercolor Pens for coloring. They are my "go-to". I use a clear acrylic block as my blending palette. Look at the amount of detail and colors you can create with just a few different colors!

I set that aside to dry and went about the rest of the card.  I embossed a piece of green cardstock with a quilting pattern. Using the Nuvo Embellishment Mousse in Lemon Sorbet and sponged it over the background. There was a white doily calling my name on my desk, so I decided to use the Nuvo Embellishment Mousse in Indian Gold to give it a beautiful gilding!


It still wasn't embellished enough for my liking, so I used the floral stamp again and stamped the doily randomly with Versamark Ink. Then I sprinkled on the Gold Detail Embossing Powder and heat set!  SO pretty!  I used the new Smooth Precision Glue Pen to adhere the doily to the background.


I inked up the sentiment stamp with Versamark Ink and stamped it onto a piece of white cardstock, then embossed with with black detail. The sentiment was matted onto a piece of green cardstock with 1/4" Tear-ific Tape. A border of Mocha Glitter was created using 1/2" Tear-ific Tape around the outside of the cardbase.  Up next, I wanted to play with the new Glitter Accents!  


All of the card elements were attached using 1/2" Tear-ific Tape! I added a bit of twine and ribbon to the tags.  I used Nuvo Glitter Accents in Aztec Gold to add some embellishments. Finally, I adhered some Shamrock Glitter to the leaves of the flowers using the Smooth Precision Pen.  


I really loved this card - it has to be one of my recent faves. The watercoloring just makes me happy!  Stay tuned! I have a second post coming up around noon!

See you soon!

Jess