Showing posts with label designer inspriation. Show all posts

Wednesday, 14 December 2016

Kitty Bee Designs - Designer Spotlight December

Hello everyone!


I have a quick card to share with you featuring an adorable stamp called "Reindeer Christmas Penguin".  It's just a simple design - but perfect for a quick Christmas greeting!


I colored it with Prismacolor pencils.  Still learning, but I am improving! :)
lne
Happy Holidays everyone!


 photo MHKDesigns_FreshByJess_Signature.png

Friday, 18 November 2016

MHKDesigns Designer Inspiration - November

Hello friends!

It's time for another Designer Inspiration over at MHKDesigns!

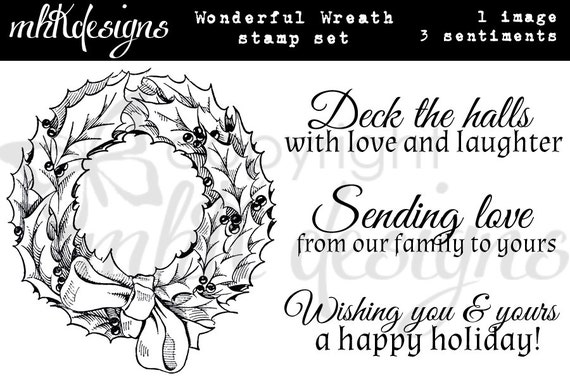
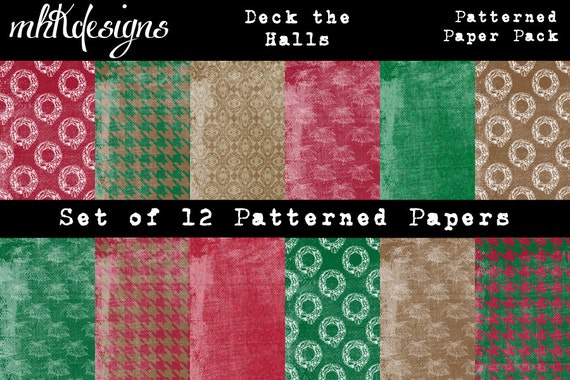
I decided to work with a stamp set called "Wonderful Wreath" and I used the Digital Paper "Deck the Halls". I went a little glitter crazy ;)

Wonderful Wreath Digital Stamp Set  Deck the Halls Digital Paper Pack

Here is what I created:


I hope you are inspired to create something "wonderful" today!  I'm definitely feeling festive now!

Until next time,


Thursday, 17 November 2016

SparkleNSprinkle - Winter Blue Jay

Hello Friends!

I'm here today with another gorgeous card for SparkleNSprinkle!


This time, I was working with the card called "Winter Blue Jay" - it's so pretty! I worked with the Digital Version.

Supply List:


So, this was a pretty easy card and came together quickly!

I started by running my background through an embossing folder that was inked up with Versamark Ink.  While still wet, I sprinkled on Sparkle Embossing Powder and heat set.  It created such a pretty background!  I added a bit of Glimmer Paste around the edges to simulate snow.  I set it aside to dry and started on my image. I printed it off (LOVE DIGIS!) and fussy cut out the image. I used the Nuvo Small Pen to trace the branch and added Pebble Copper Embossing Powder, heat setting.

I also added a border around the sentiment and embossed with Mediterranean Star Embossing Powder.


To finish off, I added a bit of Liquid applique snow! :)  How fun!


The image was popped up using Foam Squares for dimension and layered up the card using 1/2" Tear-ific Tape.

I hope you love this card!  I sure do! Plus, I just LOVE pre-colored digital images!  

Until next time,


Friday, 11 November 2016

SparkleNSprinkle - Mr. Snowflake Layout


Hello friends!


I'm here today with a fun layout for SparkleNSprinkle, featuring Mr. Snowflake (DIGI3127) - a DIGITAL only release this month!

Supply List:

SO this was super fun for me to make!  I started out by printing the colored Digital images onto white cardstock. I used the Wreath, the Snowman and the sentiment.


I fussy cut them all out and then started having fun with my Nuvo Small Glue Pen & Glitter! To add the glitter, I simply drew on the area I wanted it to be using the Glue Pen and then sprinkled on the glitter.  Brush off the excess and voila!


I added Sugar Plum to the wreath, Mr.Snowflake's scarf and the wreath he is holding. I used Tiger Orange on his carrot nose and Luau Green on his hat!  Blue Haze added a touch of glitter to his gloves & pipe smoke and Sassy Silver on his bells and the sentiment. How easy is that?

Next, I added the Moonstone Glimmer paste to the base of Mr. Snowflake. I used a small spoon to dab the paste on and make it piled up like snow.  Such a fun product!  I also added a row of it to the top of the piece of patterned paper where I put the icicles.  I set it aside to dry (took about an hour). 

I assembled my page layout using various pieces of patterned paper.  I added 2 rows of 1/4" Tearific Tape across the length of once piece of paper and used Luau Green to add some extra sparkle. Then I tied the Pull Ribbon around the piece of patterned paper.  All of the layers were adhered to the base using 1/4" Tear-ific Tape. I should mention that this is an 8x8 Layout! :)


To finish off the page, I added tons of dots with the Nuvo Crystal Drops!  I used the Morning Dew and Crushed Grape to add tons of dimension and fun. I even "drew" on some icicles!  What do you think?


I hope you head over to the shop to pick up this fun digital stamp!  Until next time,

 photo MHKDesigns_FreshByJess_Signature.png

Saturday, 22 October 2016

MHKDesigns Designer Inspiration - October

Hello friends!


It's time for another Designer Inspiration for MHKDesigns!

This month I chose to work with "Pumpkin Jack"

After printing my image, I colored the pumpkin with markers. I used some fun ribbon & Halloween Papers to complete the card. Here is the inside:


Sooo adorable!  Happy Halloween :)


I hope you enjoy this card and I can't wait to see you next time!


Friday, 23 September 2016

SparkleNSprinkle - Spooky Glow in the Dark Card

Hello friends!


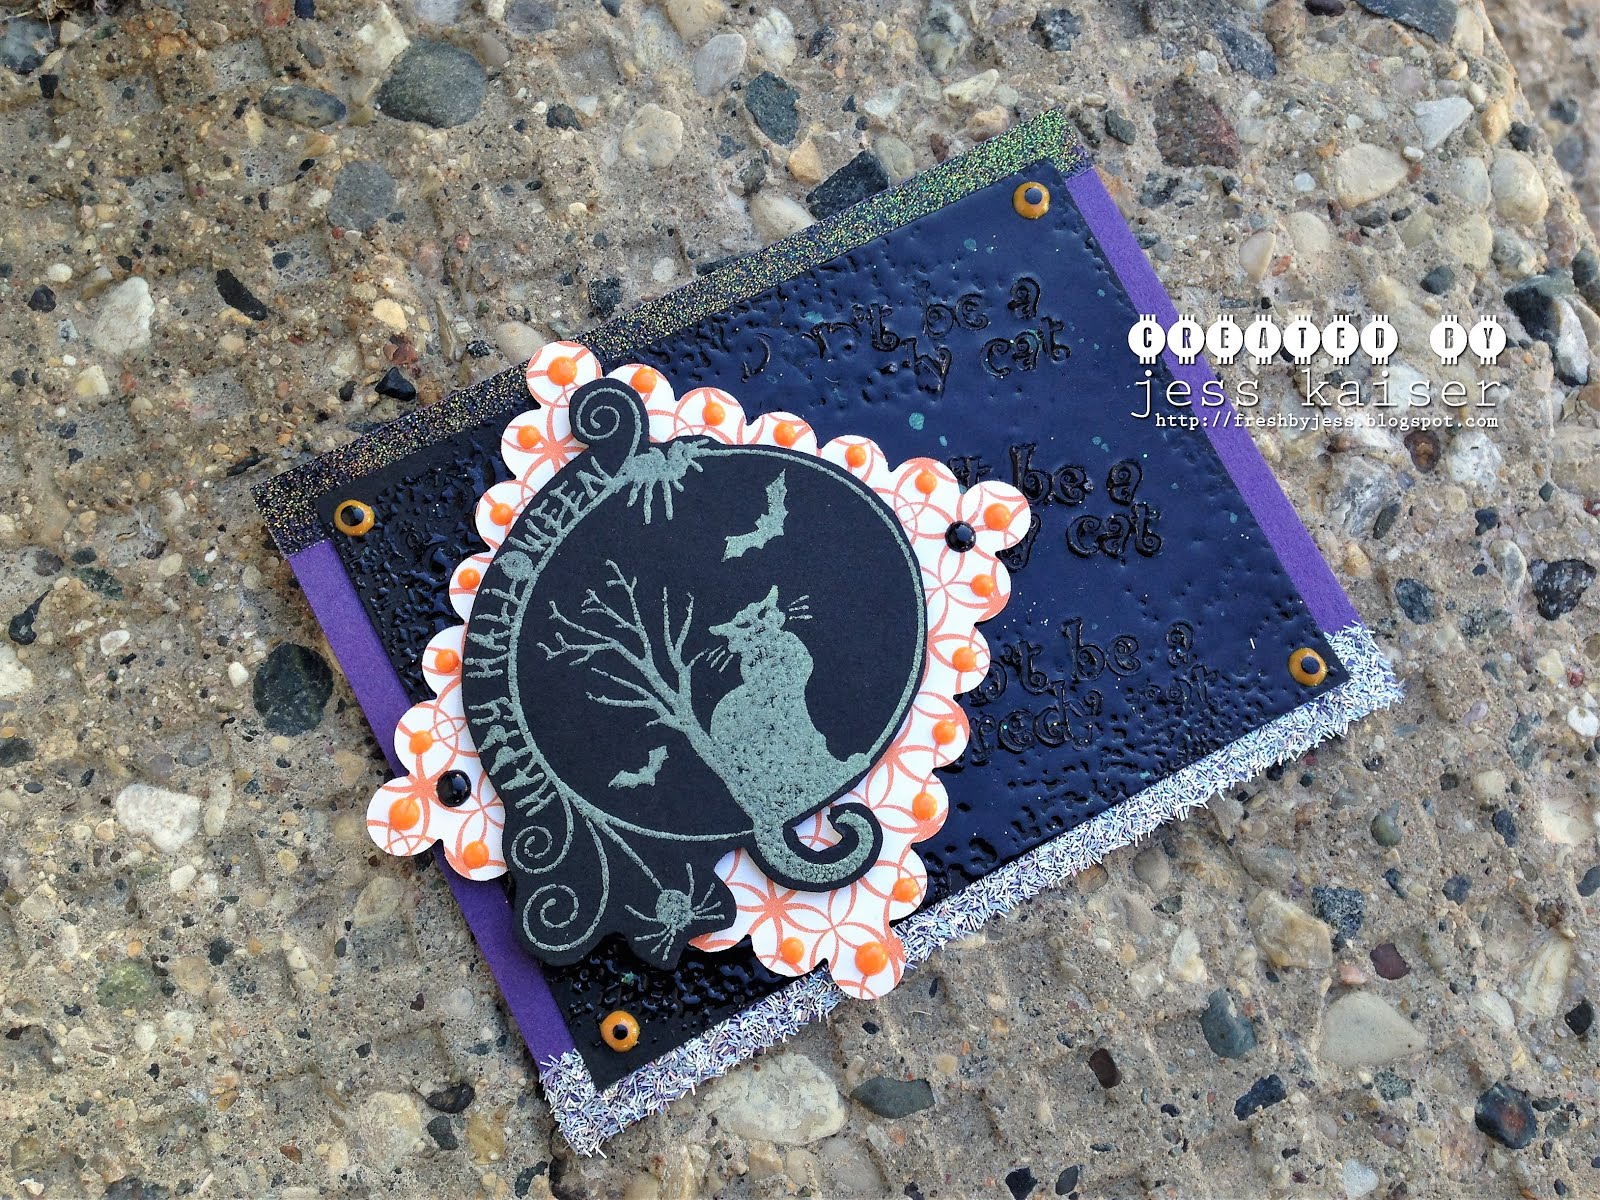
I'm here today with a SPOOKY card created for SparkleNSprinkle, featuring GLOW IN THE DARK Embossing Powder (yes, you read that right!) and the Halloween Cat Stamp Set.

Supply List:


OTHER:
Purple Cardstock
Black Cardstock
Patterned Paper
Scalloped Square Die

Ok - let's get started!

Make your cardbase!  I used a standard A2 Card (4.25x5.5").  Set aside.


Make your background!  I took piece of 4X5/12" cardstock and covered with Veramark Ink. Sprinkle on your Chunky Black Embossing Powder and heat set from underneath (this is so you don't blow all that chunky embossing powder off the top of the card with your heat tool!).  Now, this is the tricky, but FUN part!  While the embossing powder is still warm, quickly STAMP your sentiment into the warm embossing powder, creating and impression.  You can reheat small areas at a time if it sets up, but you must stamp quickly and firmly.  I also inked up the stamp with Versamark Ink prior to stamping it into the embossing powder so that it does not stick to the stamp. 

To make my cat image, I stamped it onto a piece of black cardstock using Versamark Ink and sprinkled on the Glow in the Dark Embossing Powder, then heat settting. I just love this Embossing Powder.  Fussy cut out your image and set aside.

I placed 2 strips of 1/2" Tear-ific Tape directly onto my cardbase - one and the top and one at the bottom. To the top strip, I added some Black Magic Embossing Powder (heat set of course!) and to the bottom I added some super fun Silver Leaf Glitter Tinsel.  I lightly pressed it into the adhesive to make sure it was all attached. On top of this, I adhered my embossed background paper using 1/2" Tear-ific Tape. 

Final step - assemble your card and add your accents.  I cut a scalloped square of patterned paper out using my Big Shot.  I popped up the Cat image using Foam Squares and then attached it to the background once again using the Foam Squares (can you tell I love these little bitty squares? I use them every week! LOL)

Finally, it was time to have fun with my Nuvo Crystal Drops!  I used the Ripened Pumpkin and Ebony Black drops to add accents around the edges of the patterned paper.  I created "eyes" in the corners of my background paper simply by make a base dot of the Ripened Pumpkin and dotting it with the Ebony Black. I just LOVE how you can layer these fun drops! They are so much fun to play with - you just HAVE to get your hands on some of them!

P.S. It's very hard to photography Glow in the Dark!


I hope you enjoy this spooky fun Halloween card - I sure had fun making it!

Until next time,



Monday, 19 September 2016

MHK Designs - Designer Inspiration September

Hello friends!
(Please note I have 2 posts today! This is my second)


It's time for another Designer Inspiration for MHKDesigns!

This month I chose to work with Pansy Corner and Eat Your Cake (sentiment).

After printing my image, I used Nuance  Watercolor Powders to Watercolor the image. Once dry, I fussy cut it out and then covered with Versamark Ink. I sprinkled on Clear Embossing powder and heat set.


I printed the sentiment off on Vellum paper and cut out.  I attached it with a clear liquid glue.


I hope you enjoy this card and I can't wait to see you next time!


Saturday, 17 September 2016

SparkleNSprinkle - Puppy Girl #2


Hello friends!


I have a quick card to share with you today featuring the Puppy Girl Stamp set from SparkleNSprinkle!

Supply List:


Let's go!

This is a super simple card to whip up for a friend.  I started by stamping the Puppy Girl image onto a piece of white cardstock using Versafine Ink.  I colored the image using my TwinTouch Markers. I added a bit of Denim Glitter to the leash using the Fine Nuvo Glue Pen.


I stamped the sentiment along the side of the panel using Versamark Ink, sprinkled on the Mesmerized Marbled Embossing Powder and heat set. (I love the marbled embossing powders!).

I adhered the panel to my patterned paper using 1/2" Tear-ific Tape and then added a piece of tape across the bottom of the panel.  Once I peeled off the adhesive, I sprinkled on some Denim Glitter and burnished well with my finger tool.


I also added a piece of MonAmiGabby Mesh beneath the glitter, adhering with 1/2" Tear-ific Tape.  All the layers were attached with the Tear-ific Tape as well.  Then I finished the card with various sizes of dots with the Nuvo Crystal Drops!  I LOVE this product! I set the card aside to dry overnight and VOILA! :)


I hope you enjoy this card and can't wait to see you next time!


 photo MHKDesigns_FreshByJess_Signature.png

Monday, 22 August 2016

MHKDesigns - Designer Inspiration

Hello friends!


I'm here today to share my Monthly Inspiration for you for MHKDesigns!


I made this step up card featuring the Going Gingham Pastels Digital Paper! I printed off the sunflowers from a set called "Blossoming". The butterflies came from 2 different sets - Beginnings & Endings and Butterfly Wisdom. The sentiment came from "Eat Your Cake".  I just love being able to pull elements together from multiple sets to make a card!

I'm also entering this card over at "Seize the Birthday".

Our Badge

Until next time,

Wednesday, 20 July 2016

MHKDesigns - Designer Inspiration for July 2016


Hello friends!


I'm back on the blog with a quick Designer Inspiration for MHKDesigns!  

Here is what I created:


I used a sentiment from "Eat Your CAKE" and the main deer image came from "Holiday Deer".  I love how versatile both of these stamp sets are!

To make the card, I printed out the images and colored the deer using my TwinTouch Markers.  I fussy cut out the image and the sentiment.  I used some MonAmiGabby Pearl Mesh and ribbon from my stash to accent the card.  I popped the image up with foam squares to further accent the image.

I hope you enjoy this card and are inspired to go and create!

Until next time,