Hello friends!
I have a special card tutorial to share with you for SparkleNSprinkle! This card features a stamp set/die combo from Tonic Studios.
Supply List:
Let's start with how I created the beautiful fairy! :) I stamped her onto a piece of white cardstock using my Tim Holtz Stamp Platform (1707e) with Versamark Ink. Using my Black Detail Embossing Powder, I heat embossed the image. To cut out the image, I used the matching Ocean Reflections Die Set and my Big Shot machine.
I also used this die to cut out a "shadow" from some gray carstock.
Next, I grabbed my Pearlescent Watercolors and gently watercolored the image. I wanted to add something "extra" to the fairy, so I grabbed a piece of Vellum that was sitting on my desk and die cut out another fairy image.
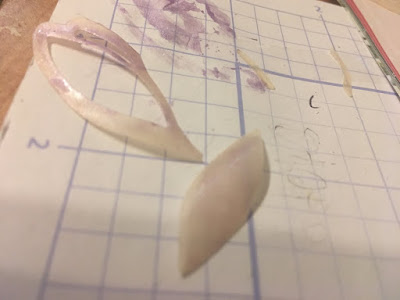
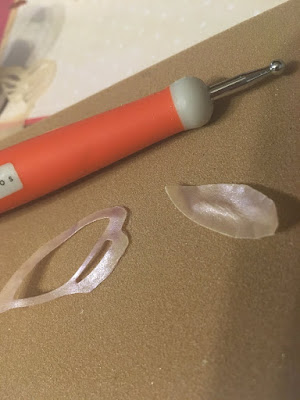
At first I was going to add the full die cut to the card, but I could quite get it to "look" right to me. Then it came to me....a fairy needs WINGS! Using some small shears, I carefully cut out the wing part of the die cut vellum. I used the Pearlescent watercolors to add a bit of sheen to the wings and then grabbed my Tonic Floral Crafters Set (380) and gently curved the pieces to bow out like wings.
I used the Nuvo Deluxe Adhesive to adhere the wings to my fairy! So cute!
Up next....the background!
Using my Big Shot and an embossing folder, I embossed a piece of 4"x5.25"gold cardstock to add some texture to the background. I applied 2 pieces of 1/2" Tear-ific Tape across the bottom half of the piece of cardstock (about 1/2 way) and applied the brand new Pink Fizz Glitter! I just love this brand new color! It's so bright and fresh. I also added a border of 1/2" Tear-ific Tape around the outside edges of a piece of white cardstock that was just slightly larger than my gold background piece. To that adhesive, I added the Lana Pink Embossing Powder and heat set. It just added a slight pink shimmer and dimension to the card.
I didn't take a photo of it (somehow I forgot!), but I also die cut a circle of white cardstock to put behind my fairy. I rolled the edges in Versamark Ink and embossed with Copper Peddler Embossing Powder (I'm obsessed with copper these days....you will see it over the course of the next month! LOL)
I adhered all of my layers using the 1/2" Tear-ific Tape. Once everything was securely fastened together, I grabbed a few of my fave Nuvo Crystal Drop colors - Raspberry Pink and Sweet Lilac and added even more lovely dimension. I also added a few paper flowers from my stash.
Voila! Beautiful fairy fun! :)
I hope you enjoy this card tutorial. Be sure to tune in on January 14 for our NEW February Reveal! You aren't going to want to miss it! :)
See ya soon!
Jess


No comments:
Post a Comment