Showing posts with label winter. Show all posts

Wednesday, 30 May 2018

Cardinal & Holly

Hello again friends!


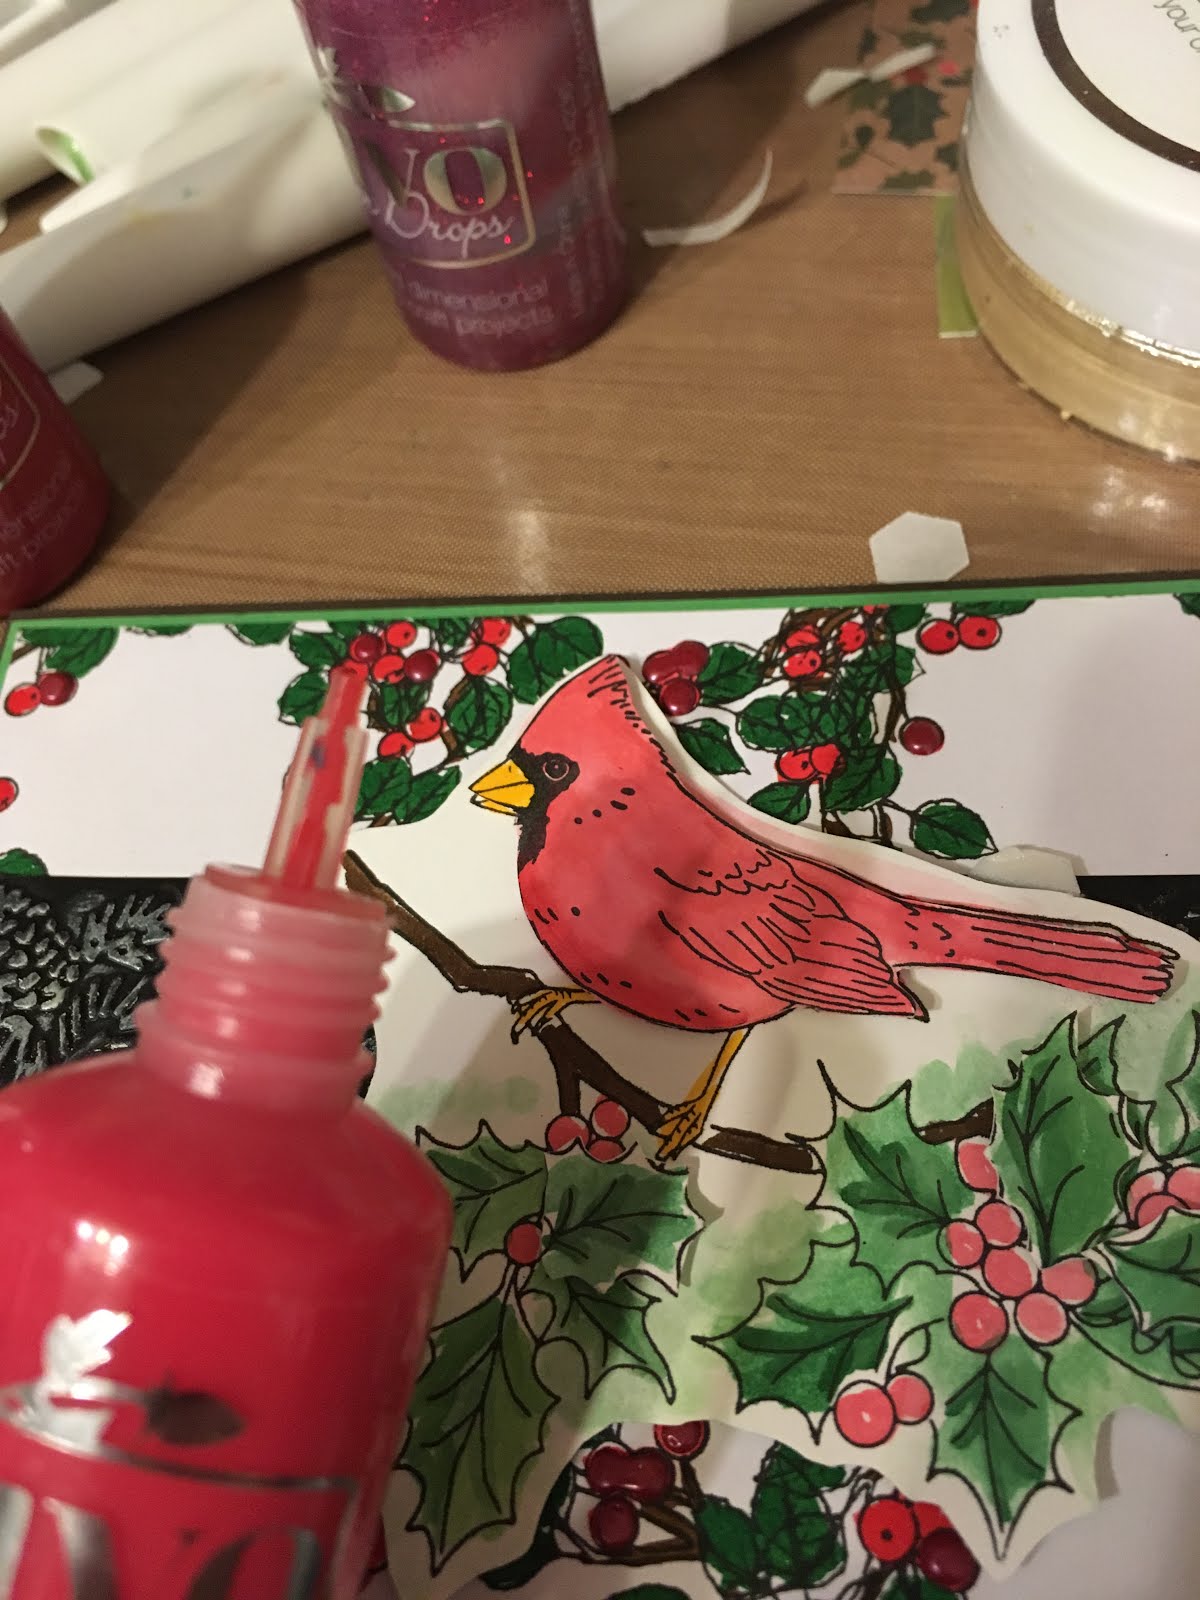
I'm sharing my final May Reveal card today for SparkleNSprinkle! I'm using the Cardinal & Holly Stamp set - which can be used for holiday and non-holiday cards alike!


First up, supply list!

SNS Supplies:

WOW!  Ok - now I know that seems like quite a long list, but there are lots of little details on the card and it's really not that hard to make ;)

For the background, I stamped the Autumn Berry Wreath randomly over white cardstock, then watercolored with the Aqua Flow Pens. I accented the berries with Autumn Red Crystal Drops and set aside to dry while I worked on the main image.


I stamped the Cardinal & Holly image with Versafine ink and colored with my Aqua Flow pens. 


So pretty, right?  Well...grab your scissors and start fussy cutting! :)  Once you are done that, you can finish off your background. 

I cut a piece of Satin Finish Black Velvet Craft Perfect Paper and ran it through my Big Shot with a fun Christmas themed embossing folder. I rubbed on some of the Mother of Pearl Embellishment Mousse to give texture and shine.


Next, I assembled all my layers, using 1/4" Tear-ific Tape! I actually added a second fussy cut bird later for more dimension.  I used the Red Berry Crystal Drops to accent the berries in the holly leaves.


Gypsy Glitter and Gecko Glitter were added for some shiny accents!  Who doesn't love glitter on holiday cards? :)


My sentiment was stamped with Versamark Ink and embossed with Gold Detail Embossing Powder. 

I felt I needed to add some extra something and I had some paper flowers kicking around on my desk. They were the PERFECT color!  All I needed to do was add a bit of Gold Glitter using the Nuvo Glitter Marker!!!


I hope you enjoyed my card tutorial.  I think we say this every year, but I really want to get a jump on my holiday cards this summer!!

See you really soon!

Jess


Friday, 16 October 2015

Sleigh Ride - SparkleNSprinkle New Release!


Hello friends!

I'm back again over at the SparkleNSprinkle blog with a fun new card featuring the new release stamp set, Sleigh Ride!


Here is the list of supplies I used to make this card (links to all SparkleNSprinkle products used are included):

Stamp Credit: Sleigh Ride {00-744P7}
Navy Cardstock 
White Cardstock
Sizzix Embossing Folder
Brads
Blue Ink
Brown Ink


First I started by stamping the horse image with Versamark Ink.  Then, I sprinkled on the new Fleur de Lis Embossing Powder and heat set from underneath.  I trimmed the image to desired size.  Then I took the Peacock Feathers Distress Ink and sponge all around the image to give it a little more color. I used a corner rounder to snip the edges and matted on a piece of navy colored cardstock using Tearific Tape.  I used my corner rounder once more to trim the edges.  Next, I took my Dimensional Glue and created some "snow" underneath the sleigh and horse.  I sprinkled on the Sparkling Snow Glitter and set the piece aside to dry.

I cut my background papers to 4"x5.25" an 3.75"x5" (to fit a standard A2 card).  I took a piece of the 2" Tearific Tape and applied to the top of the navy cardstock.  I sprinkled Snow White Flocking over the adhesive (after I removed the protective backing of course!) and burnished well with my finger tool.  Next, I took the paper and ran it through my Big Shot using a circle patterned embossing folder to give some extra dimension!  Once that was complete, I attached it to the white piece of cardstock with Tearific Tape.  I added the image to the background with foam squares and attached to the card base with more Tearific Tape

Next, I made the sentiment.  I stamped it with a dark blue ink and punched out.  I used another punch to give it some background and attached everything together with Tearific Tape.  To make the brads red, I used our new Super Thick Red Embossing Powder!  I carefully held each brad with tweezers and heated.  Then, I dipped the brad into the embossing powder and head set. I quickly dunked the brad back into the embossing powder and heat set one more time to make is super red.  Don't touch the brad right away, it's super hot!  Once they cooled, I added them to my sentiment and attached to the card with foam squares.


To enhance the inside of the card, I simply stamped a few trees with brown ink, stamping twice to make some darker and lighter.  Then, I stamped with Versamark Ink, sprinkled with Brown Fizz Embossing Powder and heat set.  They turned out nice and sparkly!  I added a "Merry Christmas" sentiment from another stamp set called "Toyland Bear".  Then, I attached it to the inside of the card and voila!  A cute, snow-ready Christmas card!


Thanks for stopping by and now you can go shop for all the supplies to make this card at SparkleNSprinkle!
Cheers!

Jess