Showing posts with label Southern Ridge Trading Company. Show all posts

Wednesday, 19 September 2018

Feathered Wall Art

Hello friends!


I'm excited to share my final Southern Ridge Trading Company Design Team Project. It has been truly an honor to design for this amazing Canadian Company!  I've been blessed to be a member of the team, and I will truly miss it - BUT, I will keep on using these amazing chipboard pieces in my art and I can't wait to see what the next group of talented designers showcases!!

I used the following Southern Ridge Trading Company products on this project:

Tribal Feather Mix
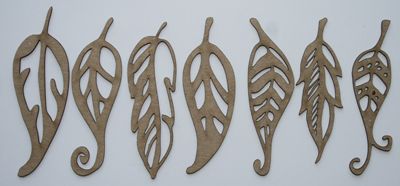

So, I wanted to really think outside the box this time - do something NOT even PAPERCRAFT!  GASP!!!  I call it  "Feathered Wall Art" because it's truly not a dreamcatcher. PLUS, it's a fabulous project to use up all those bits and pieces of scrap ribbon and trims we all have kicking around the craft space!!  This is a really simple project.  Let's get crafting!

First, I covered an 8" Brass Dreamcatcher ring with a burlap ribbon. I used some Tear-ific Tape to keep it nice and adhered.


Next, I decorated my feathers!  I used my Nuvo Embellishment Mousses in Fresh Copper, Aquamarine, Toasted Almond and Coastal Surf. I just used a sponge to color both sides. I added a bit of Nuvo Glimmer Paste in Moonstone to one of the feathers as well, using a palette knife to apply.  I tried to use a stencil, but it really didn't leave an effect, so I didn't really include that in my instructions.


The ribbon trims were all tied onto the bottom of the dreamcatcher ring.  I used some embroidery floss to tie my feathers on and accented with some copper leaves, beads and wire.


Here are the supplies I used:

Tribal Feather Mix Chipboard
- Nuvo Embellishment Mousse Toasted Almond, Fresh Copper, Aquamarine, Coastal Surf
- Nuvo Glimmer Paste in Moonstone
- palette knife
- sponge
- ribbon trim
- burlap trim
- sequin trim
- Tear-ific Tape
- 8" DreamCatcher ring
- embroidery floss
- miscellaneous wire trims


Thanks for stopping by!  See you again really soon with some more handmade inspiration!!


Jess


 photo MHKDesigns_FreshByJess_Signature.png

Wednesday, 5 September 2018

Wedding Favor Box with Southern Ridge Trading Company

Hello friends!


I have a super cute project to share with you today! I decided to whip up a quick wedding favor box - or you could easily convert it for a baby shower/wedding shower - really, however you wanted to decorate it up! It features some beautiful Southern Ridge Trading Company Chipboard!

I used the following Southern Ridge Trading Company products on this project:


I used a Sizzix/Stampin Up! Treatbox Die to cut my blue cardstock into the box form - and simply followed the score lines to fold. I used a strong strip adhesive to keep the box from coming apart.  A piece of white stretch lace was attached around the center of the box.

I used the two smaller Dandelion Seed Stem chipboard pieces to decorate the box. After covering the pieces entirely with Versamark Ink, I sprinkled on Robin's Egg Embossing Powder and Super Thick White Embossing Powder to the separate pieces (heat setting of course!). Since the Robin's Egg blue isn't an opaque powder, it didn't cover the chipboard completely - but I love the rustic vibe it left!


For the tag, I left the chipboard piece raw and stamped the image with Versamark Ink, heat embossing with Gold Detail Embossing Powder. I stamped an "I Do" with black ink in the corner. Around the edges of the tag, I used Toasted Almond Embellishment Mousse by Nuvo. I just used a sponge to add it around the edges. I was going for a rustic/raw look!  A few rhinestones were added along with a bit of ribbon to finish off the tag. I adhered the elements with Foam Squares.


Here are the rest of the supplies I used:

- Blue Cardstock
- Sizzix/Stampin' Up! Fancy Favor Bigz Die
- stretch lace
- pull ribbon
- Gold Detail Embossing Powder, Robin's Egg Embossing Powder, Super Thick Embossing Powder
- Versamark Ink
- Nuvo Embellishment Mousse Toasted Almond
- sponge
- Black Ink
- clear stamps
- rhinestones


All you have to do is fill your box with a small gift, candy, treats - whatever your hear desires! Super easy to custom match colors to your event as well.

Thanks for stopping by!  See you again sonn!

Jess

Wednesday, 22 August 2018

Tea-lightful Fun with Southern Ridge Trading Company

Hello chipboard friends!

I'm here today with my newest Southern Ridge Trading Company creation - a very "tea-lightful" Tea Dispenser!!!


I actually had printed this tutorial off YEARS ago from Splitcoast Stampers, and recently came across my printout, so I decided to make it this week and accent it with BEAUTIFUL chipboard!!

Here are the pieces from Southern Ridge that I used:


Ok!  So this cute little project just needs a piece of cardstock that is 6x12 inches.  I followed the cutting guide HERE.  I used the gorgeous Swooping Birds and Tags chipboard items to decorate this sweet box.  To color my chipboard pieces, I used Nuvo Embellishment Mousse.  Simply sponge it on and it dries very quickly!  I also added a bit of blue spray inks to the tag (which I also added some "T-E-A" wooden letters). 


I used my Tombow Mono White Glue to adhere the chipboard pieces to my tea box. It is really an easy assemble - I'm definitely going to make a few gifts for the upcoming season!!!  I also accented the top with a flower chipboard piece (I believe it's been discontinued, but you can find a similar flower in the Deb's Strawberry Angel Kit).  Some pearls were added at the end along with a bit of ribbon and bakers twine. I really love how quickly this project came together and what a perfect gift giving idea this could be!!!


Thanks for popping by!  See you again next time!!

Jess

 photo MHKDesigns_FreshByJess_Signature.png

Wednesday, 8 August 2018

Under the Sea

Hello friends!

I have another brand new card to share with you this month for Southern Ridge Trading Company!  SOoooo - summer is just slip sliding away and I have a very ocean-tastic card to share with you today.  I am just wanting to soak up the summer for as long as I can!!!


Let me share how I made it!  These are the Southern Ridge products I used on this card:

I also used the following supplies:
- White Cardstock
- Embossing Powder (various colors)
- Beach themed patterned paper (from my stash)
- beach themed stickers
- 3D Foam Squares
- rope trim
- wave die (Stamps of Life)
- Versamark Ink

Ok - let's start embossing! LOL Here are the colors of embossing powders that I used:
Cayenne 
Pebbled Copper
Magic Speckle
Cordial Red
Checkers

It's really easy to emboss your chipboard pieces!  Simply cover with your Versamark Ink, then sprinkle on the powders, then heat set! I use multiple layers to get a full coverage.


Here you can see the waves I cut using a thin metal die and get a load of those realistic shell stickers! So much fun!!!


Look at all that detail ! I used the Magic Speckle Embossing Powder to add extra dimension to the cute seahorse!  I love how versatile these fabulous Chipboard Items are!!!!! 


I hope you had some fun here on the blog today! Who would you give this beach-tastic card to?

See you again real soon!!


 photo MHKDesigns_FreshByJess_Signature.png

Wednesday, 25 July 2018

He Shoots, He Scores!

Hello friends!

I have another brand new card to share with you this month for Southern Ridge Trading Company!  Of course I tried to keep with my "Christmas in July" theme - but the card ended up being more of a "winter in July" theme - HOCKEY!  How much more Canadian can you get than a hockey card? LOL


Let me share how I made it!  These are the Southern Ridge products I used on this card:


I started by heat embossing my Hockey Players!  I used a dark navy blue for the focal "Hockey" guy, and a nice red for the other!  I typically use 2-3 layers of embossing powder on my chipboard pieces. I simply cover each piece with Versamark Ink, then sprinkle on my powder of choice and heat setting!  I repeat for each layer until I like the coverage.  I used a gold detail powder on my Small Primitive Stars (and one pretty Navy Blue one for contrast!).


I had a few "hockey" themed patterned papers kicking around, so I used them to create my background. I also adhered a small piece of red cardstock to the back of the "Hockey" word to make it stand out. 


I used some Nuvo Crystal Drops to accent the edges of the hockey stick and skate blades. It also accented the corners of the card! Here are a few more pictures of my card:


I did pop up the blue hockey player using Foam Squares to give it more of a focal point. SUCH a fun card!!!

I also used the following supplies:
- White Cardstock
- SNS Dimensional Glue
- Hockey Paperpack & Stickers (Echo Park)
- 3D Foam Squares
- Red Cardstock

I hope you had some fun here on the blog today! I really enjoyed making this card - it's always nice to have some "boy" cards on hand!

See you again real soon!!


 photo MHKDesigns_FreshByJess_Signature.png

Saturday, 14 July 2018

Christmas In July - Southern Ridge Trading Company

Hello friends!

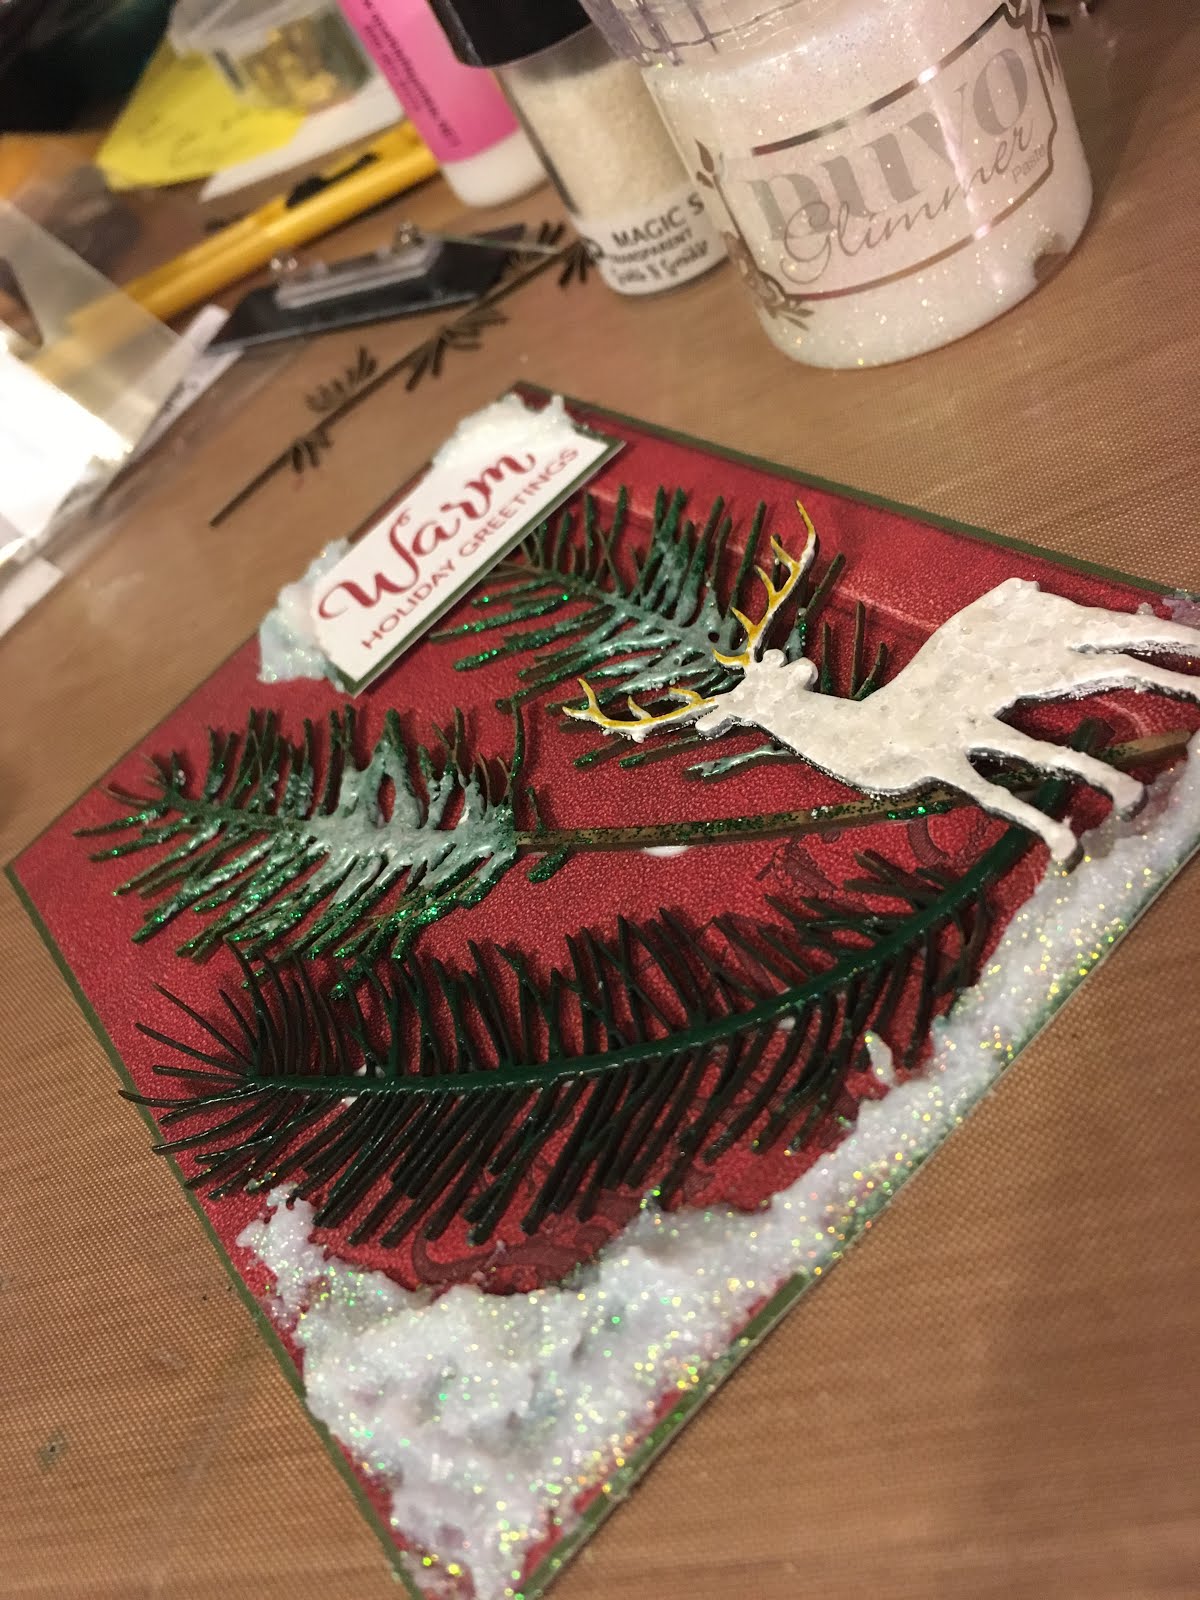
I have a brand new card to share with you this month for Southern Ridge Trading Company!  Of course I tried to keep with my "Christmas in July" theme - here is what I created:


Let me share how I made it!  These are the Southern Ridge products I used on this card:


Pine Branches - (not current but you could use either Bare Branches or Pine Branch)
  

Ok!  Let's get crafting! :)

I covered my dual branch in green Glitter Accents using a palette knife and heat embossed the other branch with a dark green embossing powder, Magic Speckle Embossing Powder and Stampendous Embossing Ink.  I love that Magic Speckle adds a Pearlescent look to the piece!


My sweet little deer was embossed with Stampendous Embossing Ink, White Detail Embossing Powder and Magic Speckle Embossing Powder. I like to add multiple layers to my chipboard pieces to ensure there is full coverage of the piece! I also colored a tiny bit on her horns using a Gold Glitter Marker.


I used a really cool background paper that looks like a book cover! To make "snow" I used the Nuvo Glimmer Paste and just smeared it on with a palette knife. 


I also used the "snow" on my sentiment!

I hope you enjoy this sweet little Christmas Card!  I had a lot of fun making it - playing with "snow" in +30 weather seems much more fun than -30! LOL


Here are a few more pictures of my card:


I also used the following supplies:
- White Cardstock
- Green Cardstock
- SparkleNSprinkle Brushable Glue
- SparkleNSprinkle Dimensional Glue
- Foam Squares

See you again really soon!

 photo MHKDesigns_FreshByJess_Signature.png