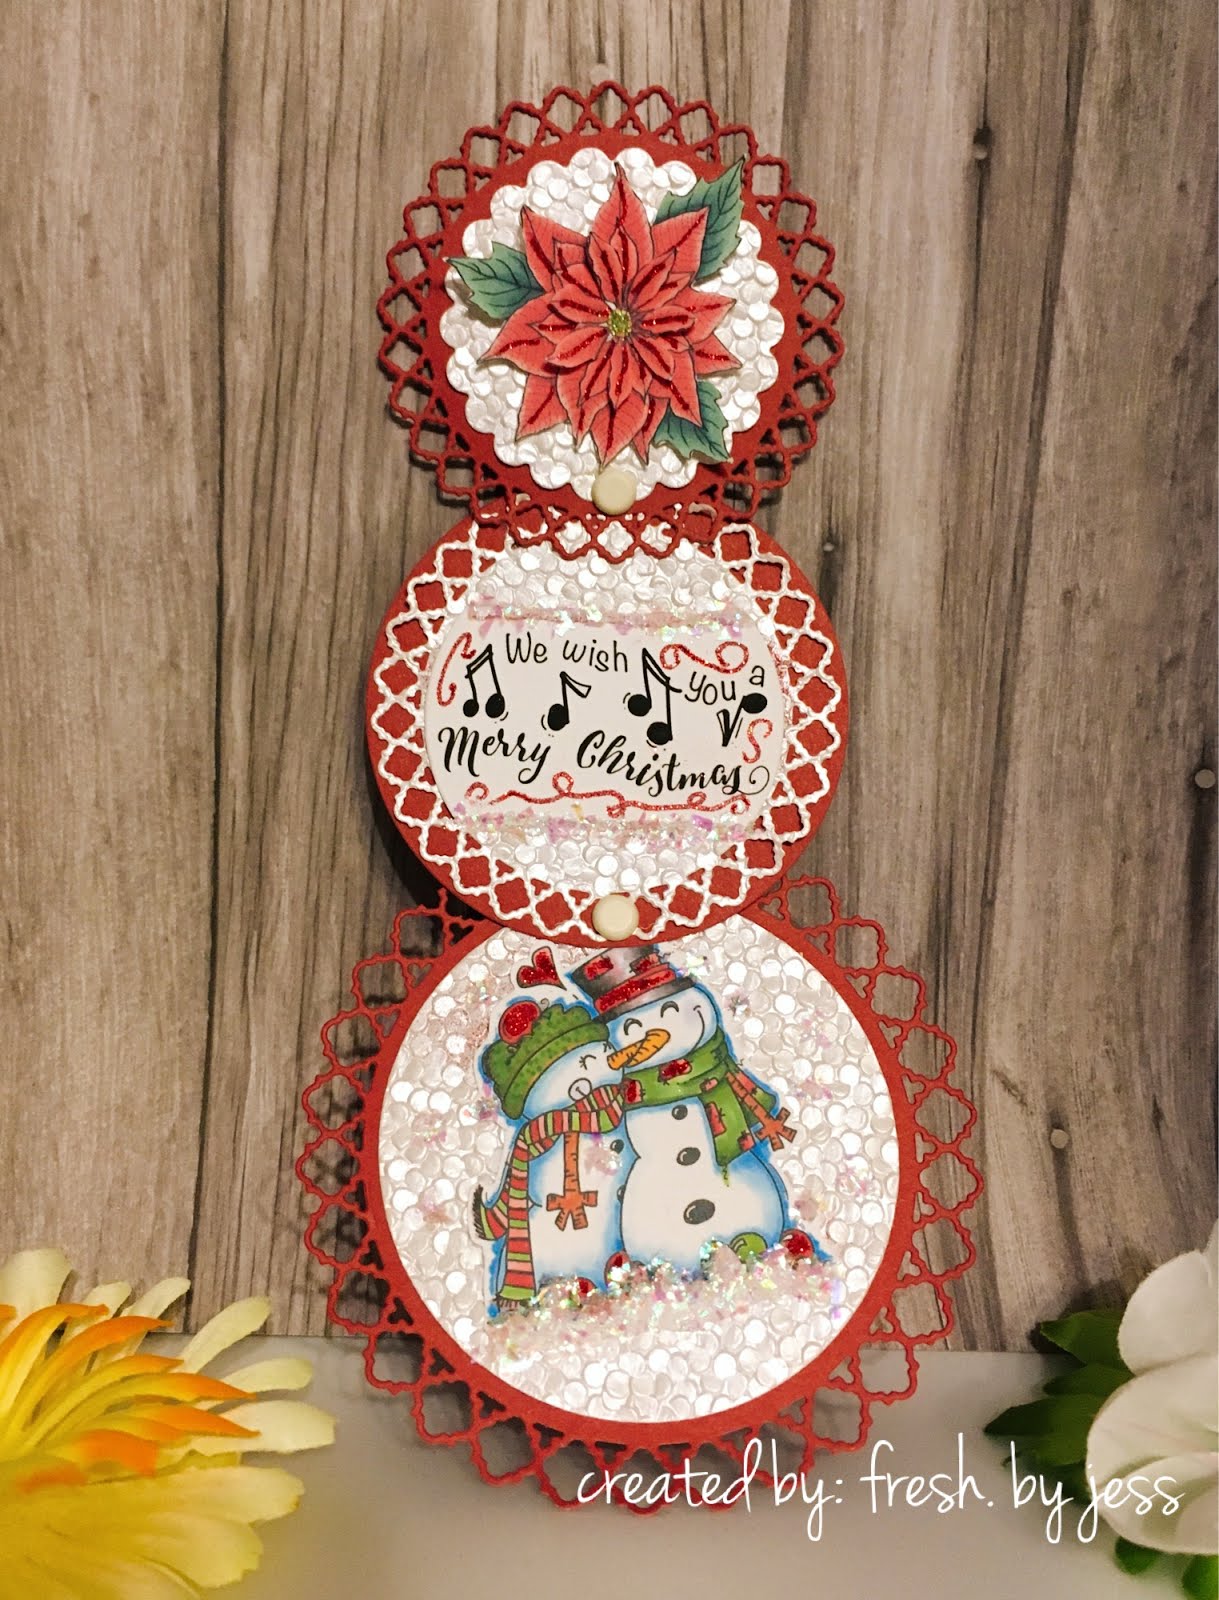
Hello friends!

I have another sweet SparkleNSprinkle Card to share with you today, once again featuring the "Hello Foxy" Stamp Set! Remember how I used foxes last time? Well, I used another little guy to create this card.
SNS Supply List
Mirror Cardstock - Chrome Silver 9452e
Aqua Flow 2-Pack Water Brush 889n
Checkers Super Thick Embossing Powder EP466
Nuvo Crystal Drops - Ivory Seashell 675N
Tonic Dies - Mixed Edge Ovals 1456e
Tonic Studios Idyllics Die & Embossing Folder Set - Filigree Affections 1516e
Let's get crafting!
I started by watercoloring my stamped image. I stamped the fox with Versamark Ink and heat embossed with Black Detail Embossing Powder. I used the Nuvo Aqua Flow Pens to water color. I love to create my own palette using my clear blocks! I simply color a little bit of the pen onto the block and then use an regular Aqua Flow Water Brush to paint and blend! I find I get better control and blending of colors this way.

Once my fox was all painted, I added Twinkling Clouds Flocking using Nuvo Deluxe Adhesive to make his white "fur". :)


(here you can see the sparkle on his fur better!)
Let's get talking about that background! I just fell in love with the English Lace Craft Perfect Paper - it's just sooo pretty! I wanted to show it off , so I just cut a background piece of it and left it pretty much plain!
Next, I decided I wanted to create a sort of "brick wall" for the foxy to be sitting in front of, all forlorn. I used a piece of metallic silver paper I had in my stash, but the Nuvo Chrome Silver Mirror Cardstock would have been perfect for this! I cut a piece and ran it through my Big Shot using a "brick pattern" embossing folder.


Next, I inked the entire surface with Versamark Ink and sprinkled on Checkers Super Thick Embossing Powder (don't mind the old label with the wrong name in the pic ;). I heat set it from beneath while holding it with tweezers. You want to heat set the super thick powders from the bottom to avoid them flying all over the place! Isn't it pretty?

Next up, I created the oval behind the little fox. I used the same mirror foil paper and die cut one out using the Tonic Studios Mixed Edge Oval Die Set. I also ran it through the Big Shot using the Filigree Affections Embossing Folder.


I adhered it to the background using Tear-ific Tape! :) All assembly of layers used the always amazing Tear-ific Tape - it's just the BEST!!!
Finally, I stamped my sentiment on a piece of white cardstock and embossed with Copper Peddler Embossing Powder. I really am digging the copper this month!!

This is a standard A2 sized card - so assembly was a snap! All the layers were adhered with 1/4" Tear-ific Tape. I tied a bit of string around the sentiment and added a metal bow paper clip for some extra wow factor. Finally, Nuvo Crystal Drops in Ivory Seashell were delicately applied to the lace background, corners and "brick" wall.


I sure enjoyed sharing my tutorial with you today and I hope you learned something. I'll be back again soon with more SNS goodness to share!
See you soon!
Jess
Aqua Flow 2-Pack Water Brush 889n
Checkers Super Thick Embossing Powder EP466
Nuvo Crystal Drops - Ivory Seashell 675N
Tonic Dies - Mixed Edge Ovals 1456e
Tonic Studios Idyllics Die & Embossing Folder Set - Filigree Affections 1516e
Let's get crafting!
I started by watercoloring my stamped image. I stamped the fox with Versamark Ink and heat embossed with Black Detail Embossing Powder. I used the Nuvo Aqua Flow Pens to water color. I love to create my own palette using my clear blocks! I simply color a little bit of the pen onto the block and then use an regular Aqua Flow Water Brush to paint and blend! I find I get better control and blending of colors this way.

Once my fox was all painted, I added Twinkling Clouds Flocking using Nuvo Deluxe Adhesive to make his white "fur". :)


(here you can see the sparkle on his fur better!)
Let's get talking about that background! I just fell in love with the English Lace Craft Perfect Paper - it's just sooo pretty! I wanted to show it off , so I just cut a background piece of it and left it pretty much plain!
Next, I decided I wanted to create a sort of "brick wall" for the foxy to be sitting in front of, all forlorn. I used a piece of metallic silver paper I had in my stash, but the Nuvo Chrome Silver Mirror Cardstock would have been perfect for this! I cut a piece and ran it through my Big Shot using a "brick pattern" embossing folder.


Next, I inked the entire surface with Versamark Ink and sprinkled on Checkers Super Thick Embossing Powder (don't mind the old label with the wrong name in the pic ;). I heat set it from beneath while holding it with tweezers. You want to heat set the super thick powders from the bottom to avoid them flying all over the place! Isn't it pretty?

Next up, I created the oval behind the little fox. I used the same mirror foil paper and die cut one out using the Tonic Studios Mixed Edge Oval Die Set. I also ran it through the Big Shot using the Filigree Affections Embossing Folder.


I adhered it to the background using Tear-ific Tape! :) All assembly of layers used the always amazing Tear-ific Tape - it's just the BEST!!!
Finally, I stamped my sentiment on a piece of white cardstock and embossed with Copper Peddler Embossing Powder. I really am digging the copper this month!!

This is a standard A2 sized card - so assembly was a snap! All the layers were adhered with 1/4" Tear-ific Tape. I tied a bit of string around the sentiment and added a metal bow paper clip for some extra wow factor. Finally, Nuvo Crystal Drops in Ivory Seashell were delicately applied to the lace background, corners and "brick" wall.


I sure enjoyed sharing my tutorial with you today and I hope you learned something. I'll be back again soon with more SNS goodness to share!
See you soon!
Jess