Showing posts with label Birthday Card. Show all posts

Monday, 16 March 2020

Happy Birthday Dude with Rinea

Hello crafty friends!


I have a fun new card to share with you today using Rinea products - this one is more on the masculine side! We are still working with our Creative Embellishment products, and I'm using some Brick Pieces Chipboard & 80's Slang Words on this card.


Supply List:


Sandpaper

Cardstock

Stamps

Thick Embossing Powder

Versamark Ink

This card will come together quickly for you!  I promise :)

Start with a piece of Ebony Starstruck Foiled Paper that is appox 4" by 5.25" as your background. Adhere the Brick Chipboard to the background in the location you want. I sprinkled some super thick embossing powder on the pieces and heat set for some extra dimension.


My Ruby/Gold Glossy piece came next. It's cut approx 1/4" smaller than the Ebony Starstruck. I carefully noted the position where the chipboard elements were added and made a slit in the Foiled Paper before adhering around the edges. Once it was adhered, I simply started tearing, sanding and distressing the Foiled Paper until the chipboard was exposed and I had the desired effect.


Next up was the DUDE Chipboard! I covered the piece with Versamark Ink and sprinkled on my Super Thick Embossing Powder - then heat set! Pretty quick and simple technique here.


I stamped the Happy Birthday sentiment onto the Mocha/Gold Glossy Foiled Paper using Ghost Ink, let it dry for a few seconds, then wiped off the ink. Voila! Sentiment exposed perfectly. (If you want to learn more about the Ghost Ink, please check out my post HERE).


Finally, I glued down the DUDE, adhered my sentient with foam squares and mounted the entire panel onto my cardbase.


Thanks for stopping by! I had a ton of fun making this card - and I know you will too!

Remember, you can save 10% on your Rinea order when you shop HERE.

See you soon!

xoxo
Jess

Tuesday, 18 February 2020

Atlantic Hearts Sketch Challenge #356

Hello crafty friends!

I hope you all had an awesome Family Day long weekend! We just relaxed and visited my Grandma for her 86th birthday celebration. 

Today I have a gorgeous birthday card once again using up some old product from my stash! 


I've been playing along with the sketches from Atlantic Hearts Sketch Challenge for years now and every week I'm inspired to create!  This week my cards are based on the following sketch:


The sketch was created by Michelle Stewart and digitized by Brandi Robinson.  

I hope you will come and play along with us!

See you next time!

Jess

Friday, 16 August 2019

Flower Power with Rinea

Hello friends!

I'm back again today with another beautiful Rinea creationToday I'm sharing a card that I made most of the same materials I used in my first Rinea project this month! It's cool that you can take the same materials and create something entirely new!
Here are the products you will need for this project:
Image Stazon Pigment Inks - Piano Black, Shamrock Green
Flower Die Cuts
Liquid Adhesive
Assorted Punches
Embossing Folder
Nuvo Vintage Drops
Cardstock

To start, I took some of the Silver/Gold Glossy Foiled paper that I had stamped with Oma's Postcard & Shamrock Green Pigment Ink and ran it through a quilted pattern embossing folder. I had a leftover piece from my Fortune Cookies with the circle cut out, so I used that as my overlay! I trimmed it down to fit exactly over my base piece and glued it down with liquid adhesive.
I used the Starburst Sentiment Stamp with Piano Black Pigment Ink to stamp the Happy Birthday sentiment onto a piece of Silver/Silver Starstruck Foiled Paper, then punched out with a circle punch. I also punched a piece of Emerald/Emerald Starstuck paper using a scalloped circled and layered with my sentiment.

At this point, I felt like I really needed an extra focal point, so I grabbed a pretty flower diecut that I had in my stash. Didn't it work perfectly? I adhered it with some liquid adhesive and then popped up the sentiment.  A few layers of cardstock were added in the background to frame it and voila!  To embellish just that little extra, I used Nuvo Vintage Drops on the quilting to look like tufts.


Thanks for taking the time to stop by my blog!  I love to read your comments -they are always an encouragement.

Have a great day!
Jess

Monday, 1 July 2019

Joy Clair - No Probllama

Hello friends!

I have a SUPER cute new card to share with you today for Joy Clair stamps!  I'm using the new release stamp set called "No Probllama" - and you are just going to LOVE this set!  How much fun will this be to create invitations, birthday cards and more!


Here is the adorable handmade card I created:


Some simple watercoloring was all this card needed! It's just so cute!!  I can't wait to give it to someone to put a smile on their face.  Who would you give this card to?

Thanks for stopping by!

See you again next time.

Jess

Thursday, 7 February 2019

CuteNCrafty Mommy - Birthday Pebbles

Hello friends!


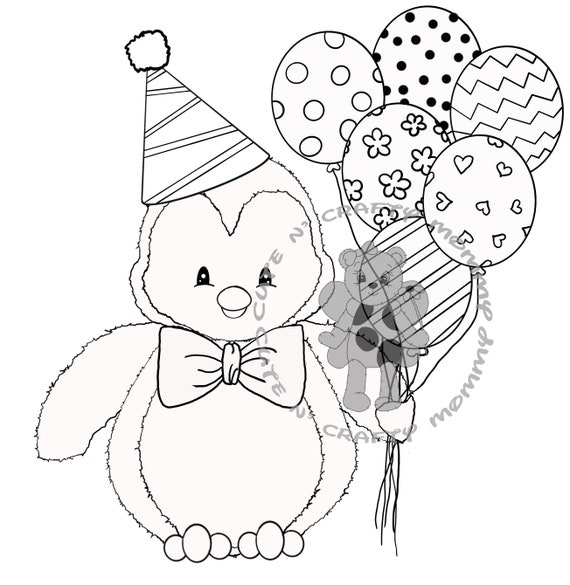
I have a quick, just for fun project to share with you today!  I always need to have a stash of birthday cards on hand, and sometimes I tend to gravitate towards making more girly cards!  SO - I'm trying to make more neutral ones, and this cute little penguin digi called "Birthday Pebbles" from CuteNCrafty Mommy fit the bill!  


I also used the Birthday Paper Digi Pack to make this card.

image 0

Here is my finished card:


I seem to really be enjoying inking edges again lately - not sure why!  But I still love that technique! 

Thanks for stopping by!  See you again soon.

Jess


Wednesday, 9 January 2019

Fancy Cake with Cheapo Dies

Happy Wednesday! 


Today I'm using the Fancy Cake Die from Cheapo Dies to create a fun birthday card.
How beautiful is this die?


Cheapo Dies - Fancy Cake

 Here is what I created for you:


 If you're not familiar with Cheapo Dies, you are missing out!!!
Here's a listing of their store, blog & FB links to help you get familiar:


Thanks to all of you for stopping by today.  Can't wait to see you again soon!

Jess

Friday, 7 December 2018

Big Birthday Wish

Hello crafty friends!


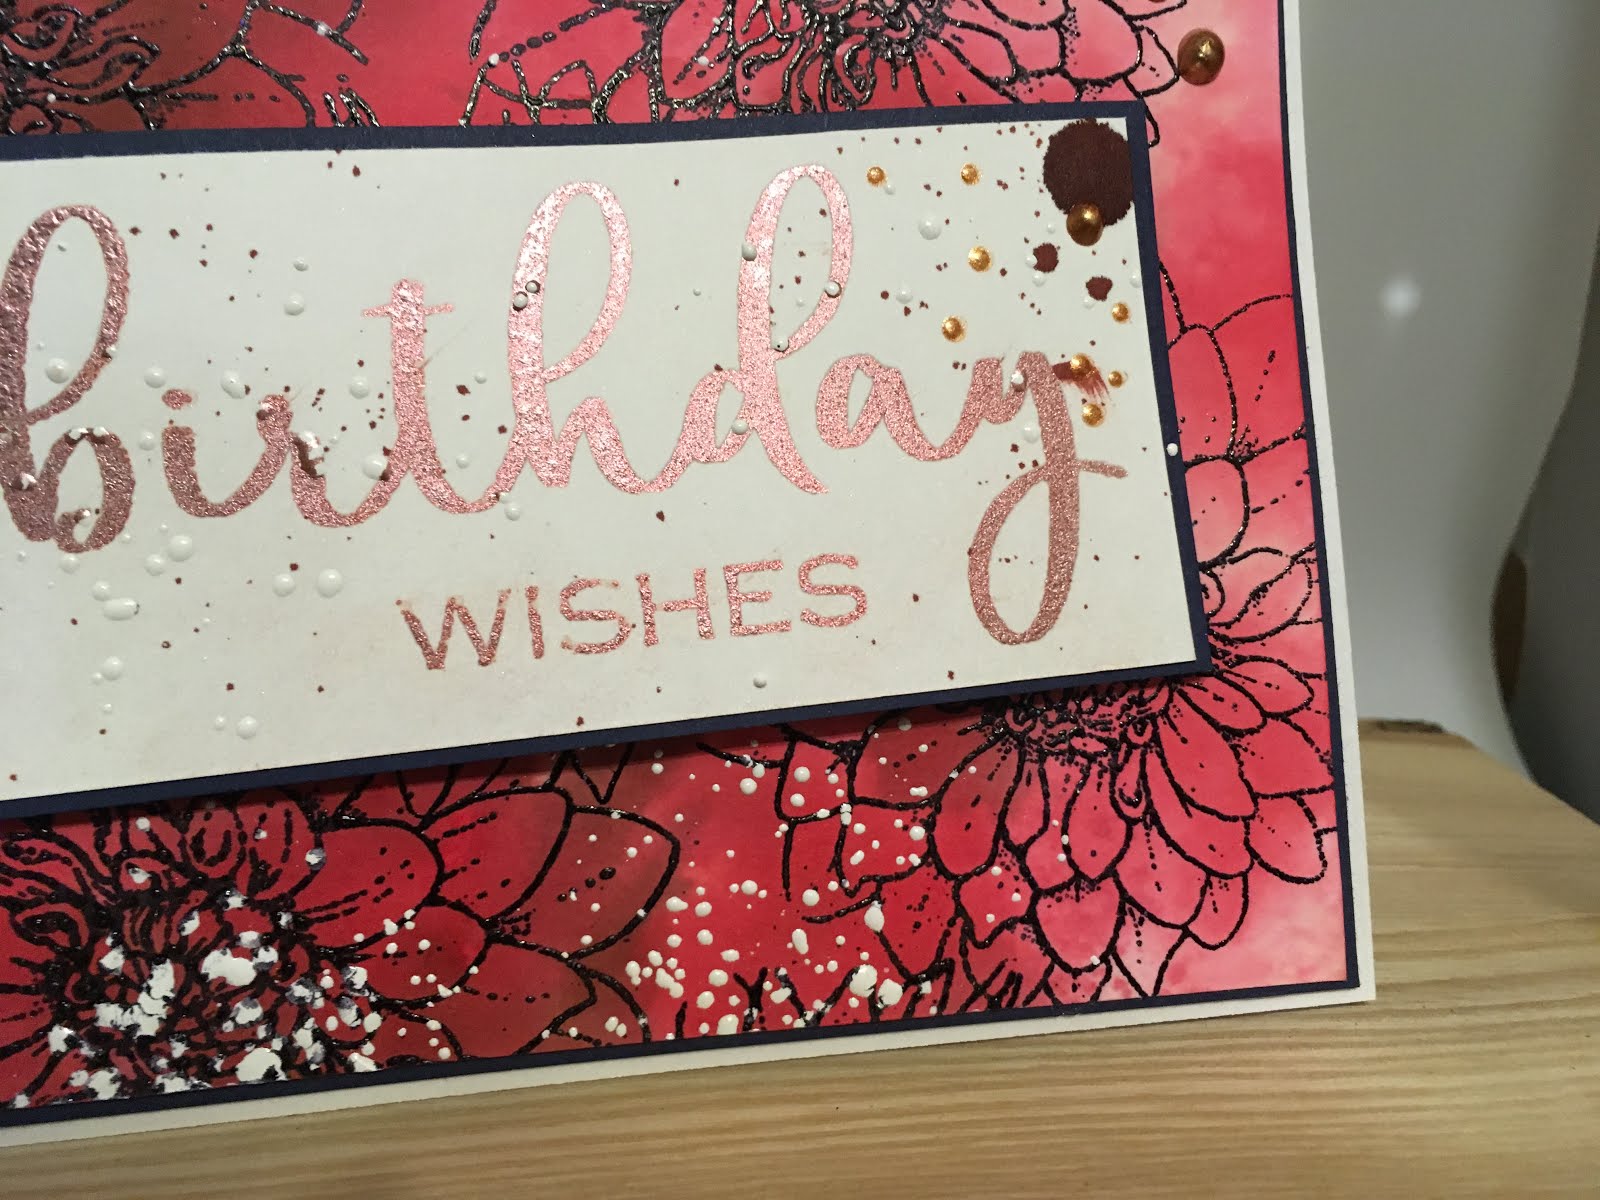
I have a brand new SparkleNSprinkle December reveal card for you today! I decided to mash an old favorite with the new release - that fave is the Dahlia Rubber Stamp Set. I love the big, bold flowers with the beautiful scripted words in the new release "A Big Birthday Wish". I can see a whole bunch of handmade cards being created with this set.  The card I created for you today is a standard A2 (4.25"x5.5") card. 


Supply List:

Big Birthday Wish Rubber Stamp Set #931

Black Detail Embossing Powder EP171

Dahlia Rubber Stamp Set #500

Nuvo Aqua Flow Pens - Assorted Sets

Super Thick White Embossing Powder EP355

Versamark Ink VM001

Nuvo Crystal Drops - Copper Penny 654N

1/4" Tear-ific Tape SAT01

Bronze Rose Embossing Powder 335

I also used black and white cardstock from my stash.

Step 1 - Create the Background

The background was created using the same "ink smooshing" techniques in a few of my past posts, such as this one HERE.  Once I was happy with the colors, I trimmed down the cardstock to size and sprinkled on some Extra Thick White Embossing powder for texture (heat set from the under side). I used black cardstock to mat the background. 


Step 2 - Sentiment

I used Versamark Ink to stamp the sentiment onto a piece of white cardstock and embossed with Bronze Rose Embossing Powder. I love the shimmer to this power - so pretty! It's a cosmic powder, so you can simply wipe any "halo" it leaves off with a swiffer cloth (or something similar). I used the same random sprinkling technique with the Super Thick White Embossing powder on this piece as well.  The sentiment as adhered to a piece of black cardstock with 1/4" Tear-ific Tape. 

I wanted to tie in the sentiment to the background a little bit, so I let a large drop of ink from the Aqua Flow Pen drip into the corner. I think this gave the handmade card an almost "gothic" feel!


 Step 3 - Put it Together and Embellish!

I adhered the sentiment to the card with the 1/4" Tear-ific Tape and added a few drops of Copper Penny Crystal Drops to embellish. I can never be without Crystal Drops on a card these days. I love them!
  

Such a bold card - I really loved how the background stood out on this handmade card. I'm so glad you stopped by today!  I really enjoy reading your comments - so feel free to say hello!  See you really soon.

Jess