
Hello friends!
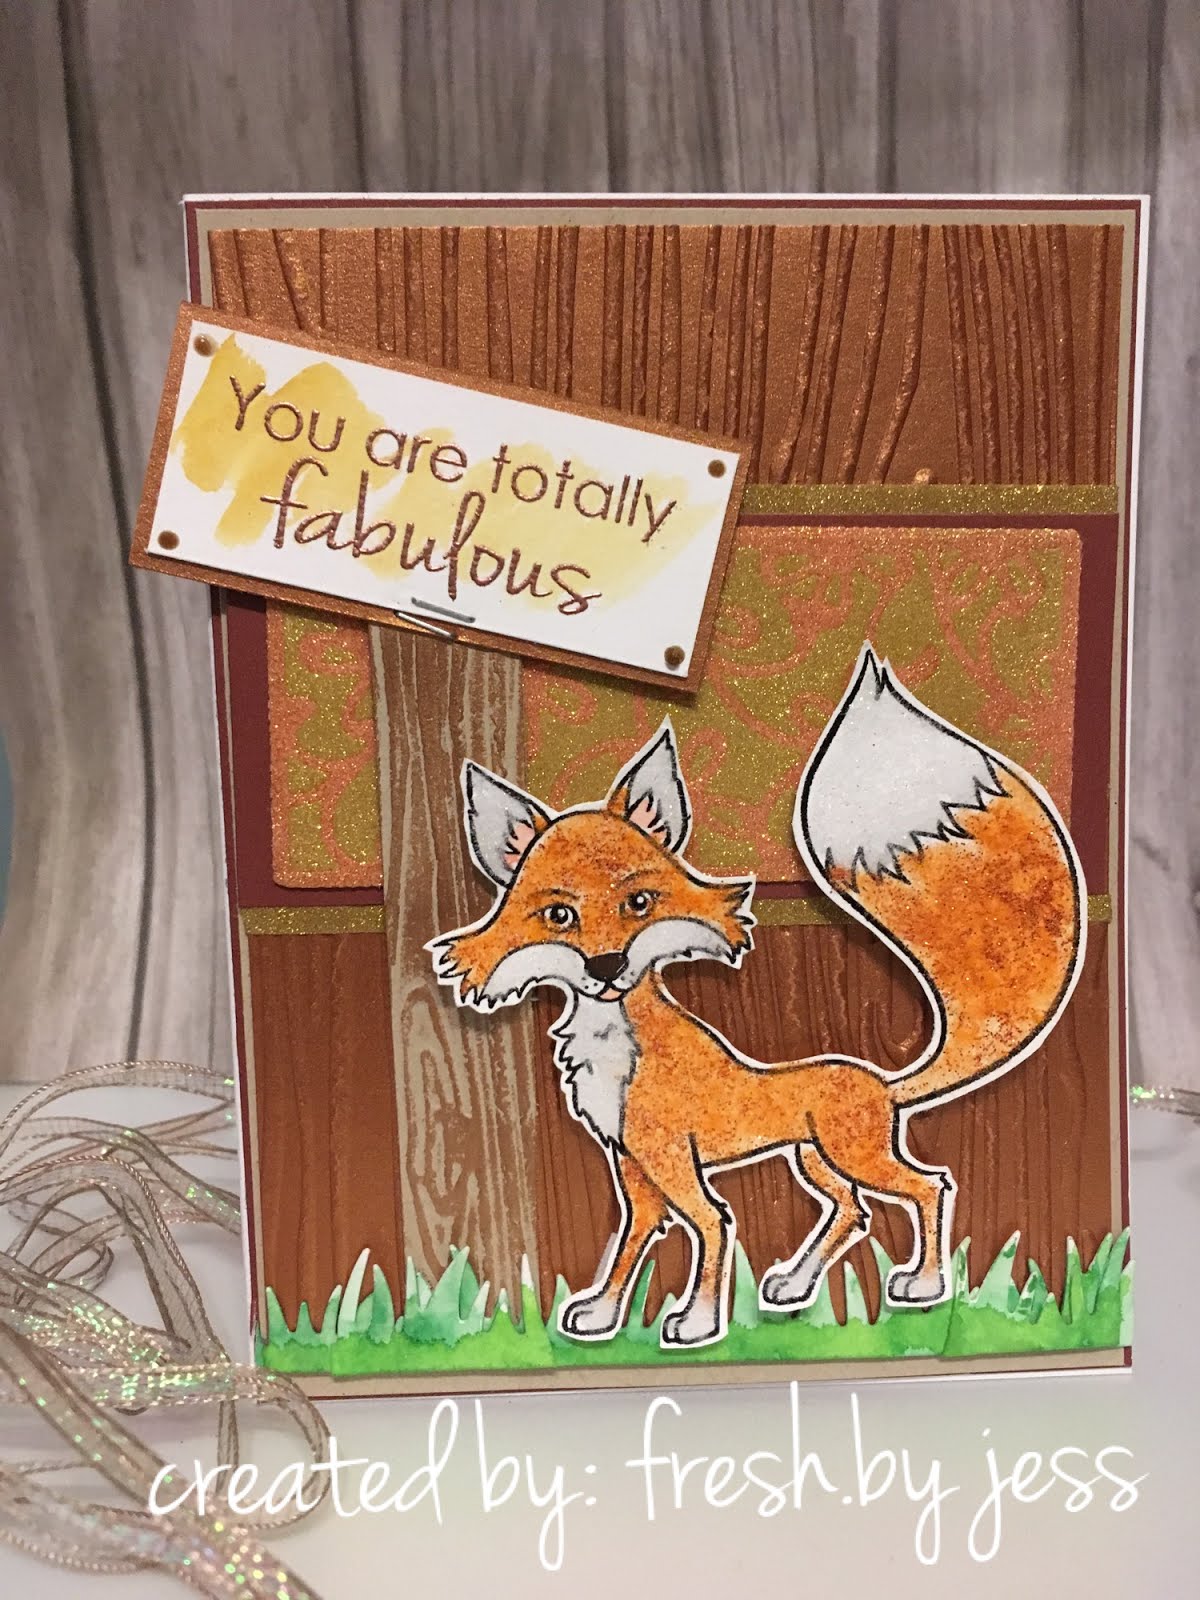
I'm here today to share a brand new card featuring a new Stamp Set from SparkleNSprinkle called "Hello Foxy". It's a really adorable set - I hope you love it too! This is actually a pretty simple card to recreate - I hope you go out and make one for yourself! I know you have a "foxy" friend who would love to receive this card, don't you?
SNS Supply List
Ok....let's go!
First Steps
Let's create the framed background glitter piece! I started by attached a piece of 2.5" Tear-ific Tape to a piece of white cardstock. Pretty simple start, huh? Using the Tonic Studios Delicate Daisy Die, I used my Big Shot to cut through the adhesive back portion of the Tear-ific Tape - NOT ALL THE WAY THROUGH! We want to create a Glitter Inlay Technique! You may have to play around with your own diecutting machine to find the right "sandwich layers" to only cut through the top portion.


Using a paper piercing tool, I removed the cut backing areas of the Tear-ific Tape gently to expose the adhesive below. It's super sticky stuff! Once I had it all removed, I sprinkled on the 24kt Gold Microfine Glitter (oh so soft and suede like!) and burnished it into the adhesive well - being careful not to dislodge the remaining protective backing. After I removed the excess glitter, I repeated the steps with the remaining backing, this time using Autumn Frost Glitter.


Here you can see the gorgeous background this creates. I just love this technique. I added a mat of metallic copper cardstock behind the panel and another mat of 24kt Gold Edged cardstock. This technique is simple - apply 1/4" Tear-ific Tape around the edge of your paper (right up to the edge!) Remove the backing and sprinkle on your Glitter (I used the 24kt Gold!) and burnish well. Super simple - but super effective!

Creating your Fox
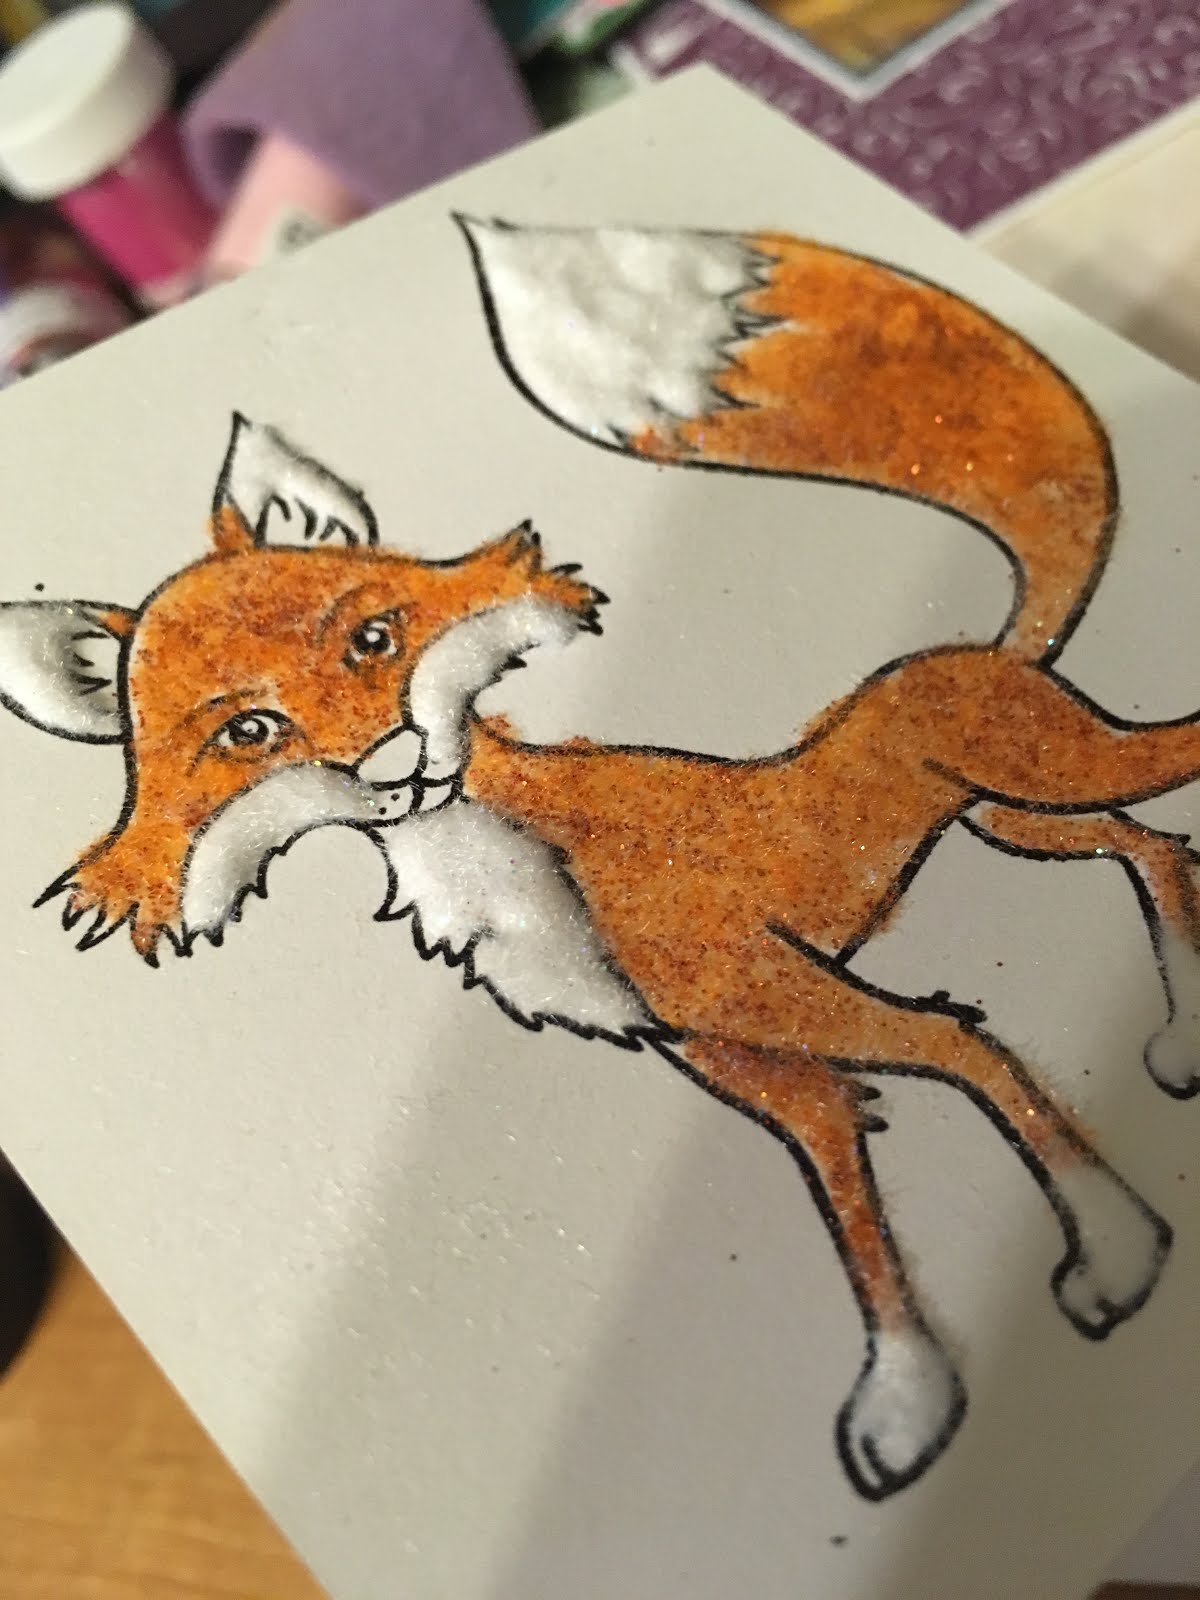
I started my fox my stamping with Versamark Ink onto white cardstock (first rubbing the cardstock with my Anti-Static Bag!) then heat embossing with Black Detail Embossing Powder. Next, I applied my Nuvo Medium Glue Pen all over the fox's body and added Autumn Sparkle SparkleNSoft (aka flocking with glitter added!). He was looking pretty foxy at this point, but I wanted the white parts to stand out even more, so I added a VERY thick layer of Nuvo Deluxe Adhesive onto the "white" areas, then sprinkled on the Twinkling Clouds SparkleNSoft. I set the little guy aside to dry and went to work on my sign.


The sign came to me as I was creating the background! I had used a woodgrain embossing folder to emboss a piece of Metallic Copper Cardstock - then I thought, "hey, a sign is a perfect way to do the sentiment!". So that's what I did. I grabbed a scrap piece of kraft colored cardstock and embossed with the same folder. Using the Nuvo Embellishment Mousse in Cosmic Brown, I slightly "distressed" the wood of the pole.

I stamped the sentiment in Versamark Ink and heat embossed with Copper Peddler Embossing Powder (I think this is my new favorite color right now!). Once I realize my little guy would be outside, I needed to add grass! I used a Lawn Fawn die from my stash and cut some white cardstock. Then I watercolored the grass using the Nuvo Aqua Flow Pens in Spring Meadow and Autumn Woodland (I like to mix my colors on an acrylic block first as a paint palette, then paint with an Aquapainter pen!). I gave the little foxy's ears a wash with the pink color from the Spring Meadow collection and the sign a hint of color with the yellow. His nose was colored with the brown Aqua Flow Pen from the Autumn Collection. I fussy cut out my fox and popped him up with some 3D foam tape.
All the layers were attached using 1/8" Tear-ific Tape. Nuvo Crystal Drops in Dark Walnut were added to "nail" the sign to the card (haha) and a decorate mini staple attached the sign to it's pole.


As always, I hope you loved this card. I always have fun creating them.
Until next time,
Jess


