Hello friends!
It's time for our April 2018 New Stamp Reveal over at
SparkleNSprinkle! I'm so excited to share that in addition to the Sponsorship & Challenge Coordinator Position, I have also taken on a new role for SparkleNSprinkle - Design Team Coordinator! Lots of new challenges to take on and I am just so darn excited!!!
Onto this first Reveal card! I just LOVED the Christmas Baubles Stamp Set, but couldn't bear to make a Christmas card yet.....soooo, I figured I would go outside the box! After looking closely at the stamps, I realized I could turn them into lanterns! Genius! (I sometimes have those moments you know - hahaha!). You would never know by looking at this card that it was made from a Christmas set! Think outside the box ;) I was super excited to that the FANTASTIC Demo Donna chose to use my card as the inspiration for our
April Video Kit Club!!!
First up....let's talk about the Supply List:
Onto the card!
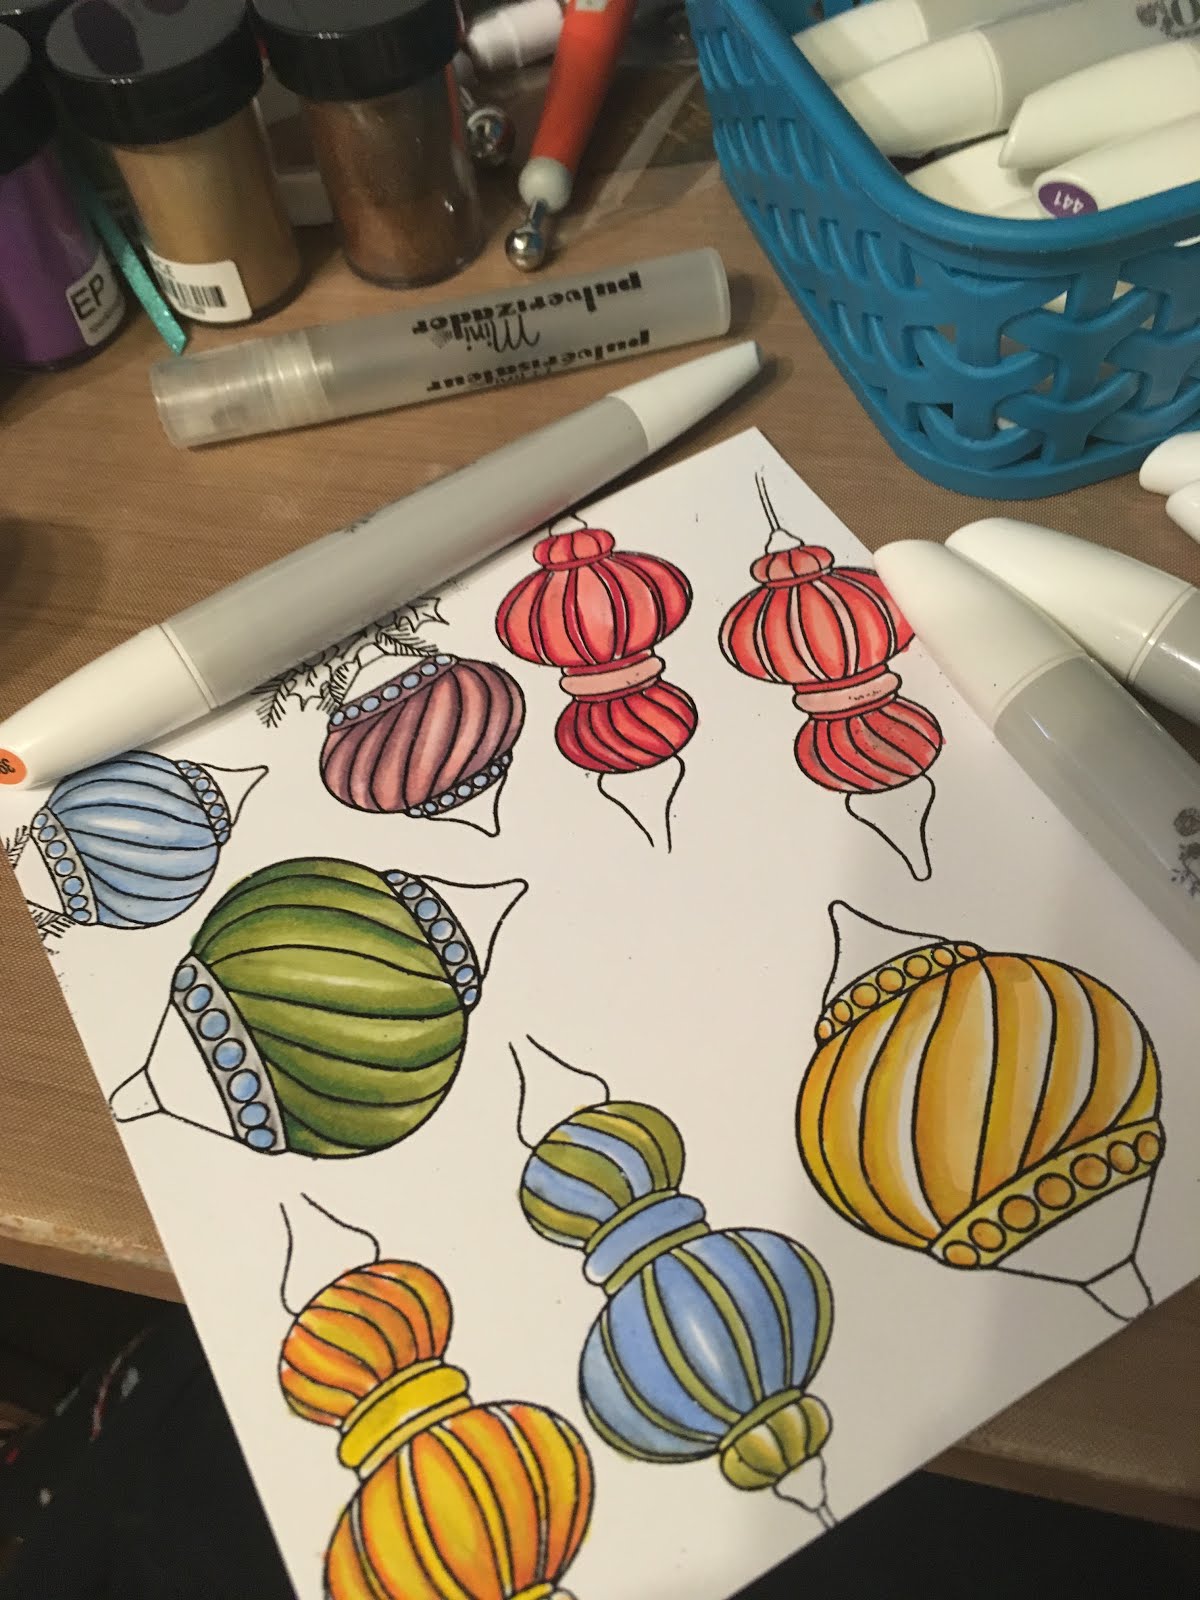
First things first - let's stamp! I inked up the baubles with Versamark Ink and randomly stamped them onto my white cardstock. I sprinkled on Black Detail Embossing Powder and heat set. Then I grabbed all my BRAND NEW Nuvo Marker Pens! You will have to forgive me for not writing down all the exact colors I used! I'm new to the whole "alcohol marker" thing - so I promise in the future to write down the numbers as I use them! I linked you above in the supply list to one of the sets - simply search from there for all 20+ sets! They blended really nicely and I can't wait to share more artwork that I made with them! So much fun - and I love that they come in a 3 pack at a time - I don't have to invest in 300 markers to get some nice blends! WIN WIN!
Aren't the colors pretty? I simply fussy cut them out to create the "lanterns". :)
Onto the BACKGROUND!! This part was easy peasy - I simply grabbed my Nuvo Aquaflow Pens in Yellow & Green (from the Spring and Summer collections) and did a freehand wash over the background. No over thinking - just splash it on! I wanted it to feel like a sunset or lazy summer day style background. I figured I need some sort of "fauna" in the background, so I grabbed an oldie, but goodie - the Wetlands 2 Stamp Set! As you can see, I stamped 2 of the images with Versamark, then heat embossed with the new (and GORGEOUS) Timber Embossing Powder. So pretty! (NOTE: I ended up covering this image with my sentiment in the end - ooops! BUT I wanted you to see the gorgeous tones and colors of this new Embossing Powder!).
A layer of 1/2" Tear-ific Tape was added around another piece of white cardstock, and to this I sprinkled on the Spring Willow Embossing Powder - heat setting of course!! I wanted a bit of a border for my panel. SOOO light and pretty. You will love this powder.
For my Sentiment, I grabbed the BRAND NEW Nuvo Shimmer Powder in Atlantis Burst. These are similar to the Colorburst Powders - but have sooo much sparkle and dimension to them! I sprinkled some onto my acrylic block and "painted" it on with a painter pen. So pretty - and look at the ombre effect I was able to create! You are definitely going to want some of these in your stash ASAP!
I actually grabbed my scissors and "doctored" up this stamp set for my sentiment! I carefully cut apart the "Celebrate" word from the entire sentiment and just used this portion. I love this part about rubber stamps! I can still use all the words together in the future too! I used the Timber Embossing Powder on the sentiment too :)
All the layers were adhered with Tear-ific Tape of course! I hand drew in the "lantern rope" using a Nuvo Caligraphy Pen. Nuvo Glitter Drops in Honey Gold and Nuvo Crystal Drops in Morning Dew were used to embellish the card.
I hope you LOVE this card - it was a TON of fun to create! I can't wait to share the rest of my cards with you this month - stay tuned!! There are some really pretty things to come - and lots more coloring to do!!
See ya soon!
Jess